Explorer
The Explorer (SaaS > Explorer in the Slide Console) lets you browse and search the recovery points of any protected resource. You can also open it with Search Files on a tenant or resource, Browse Files on an application, or Microsoft 365 Restore from the Create Restore menu on the Restores page.
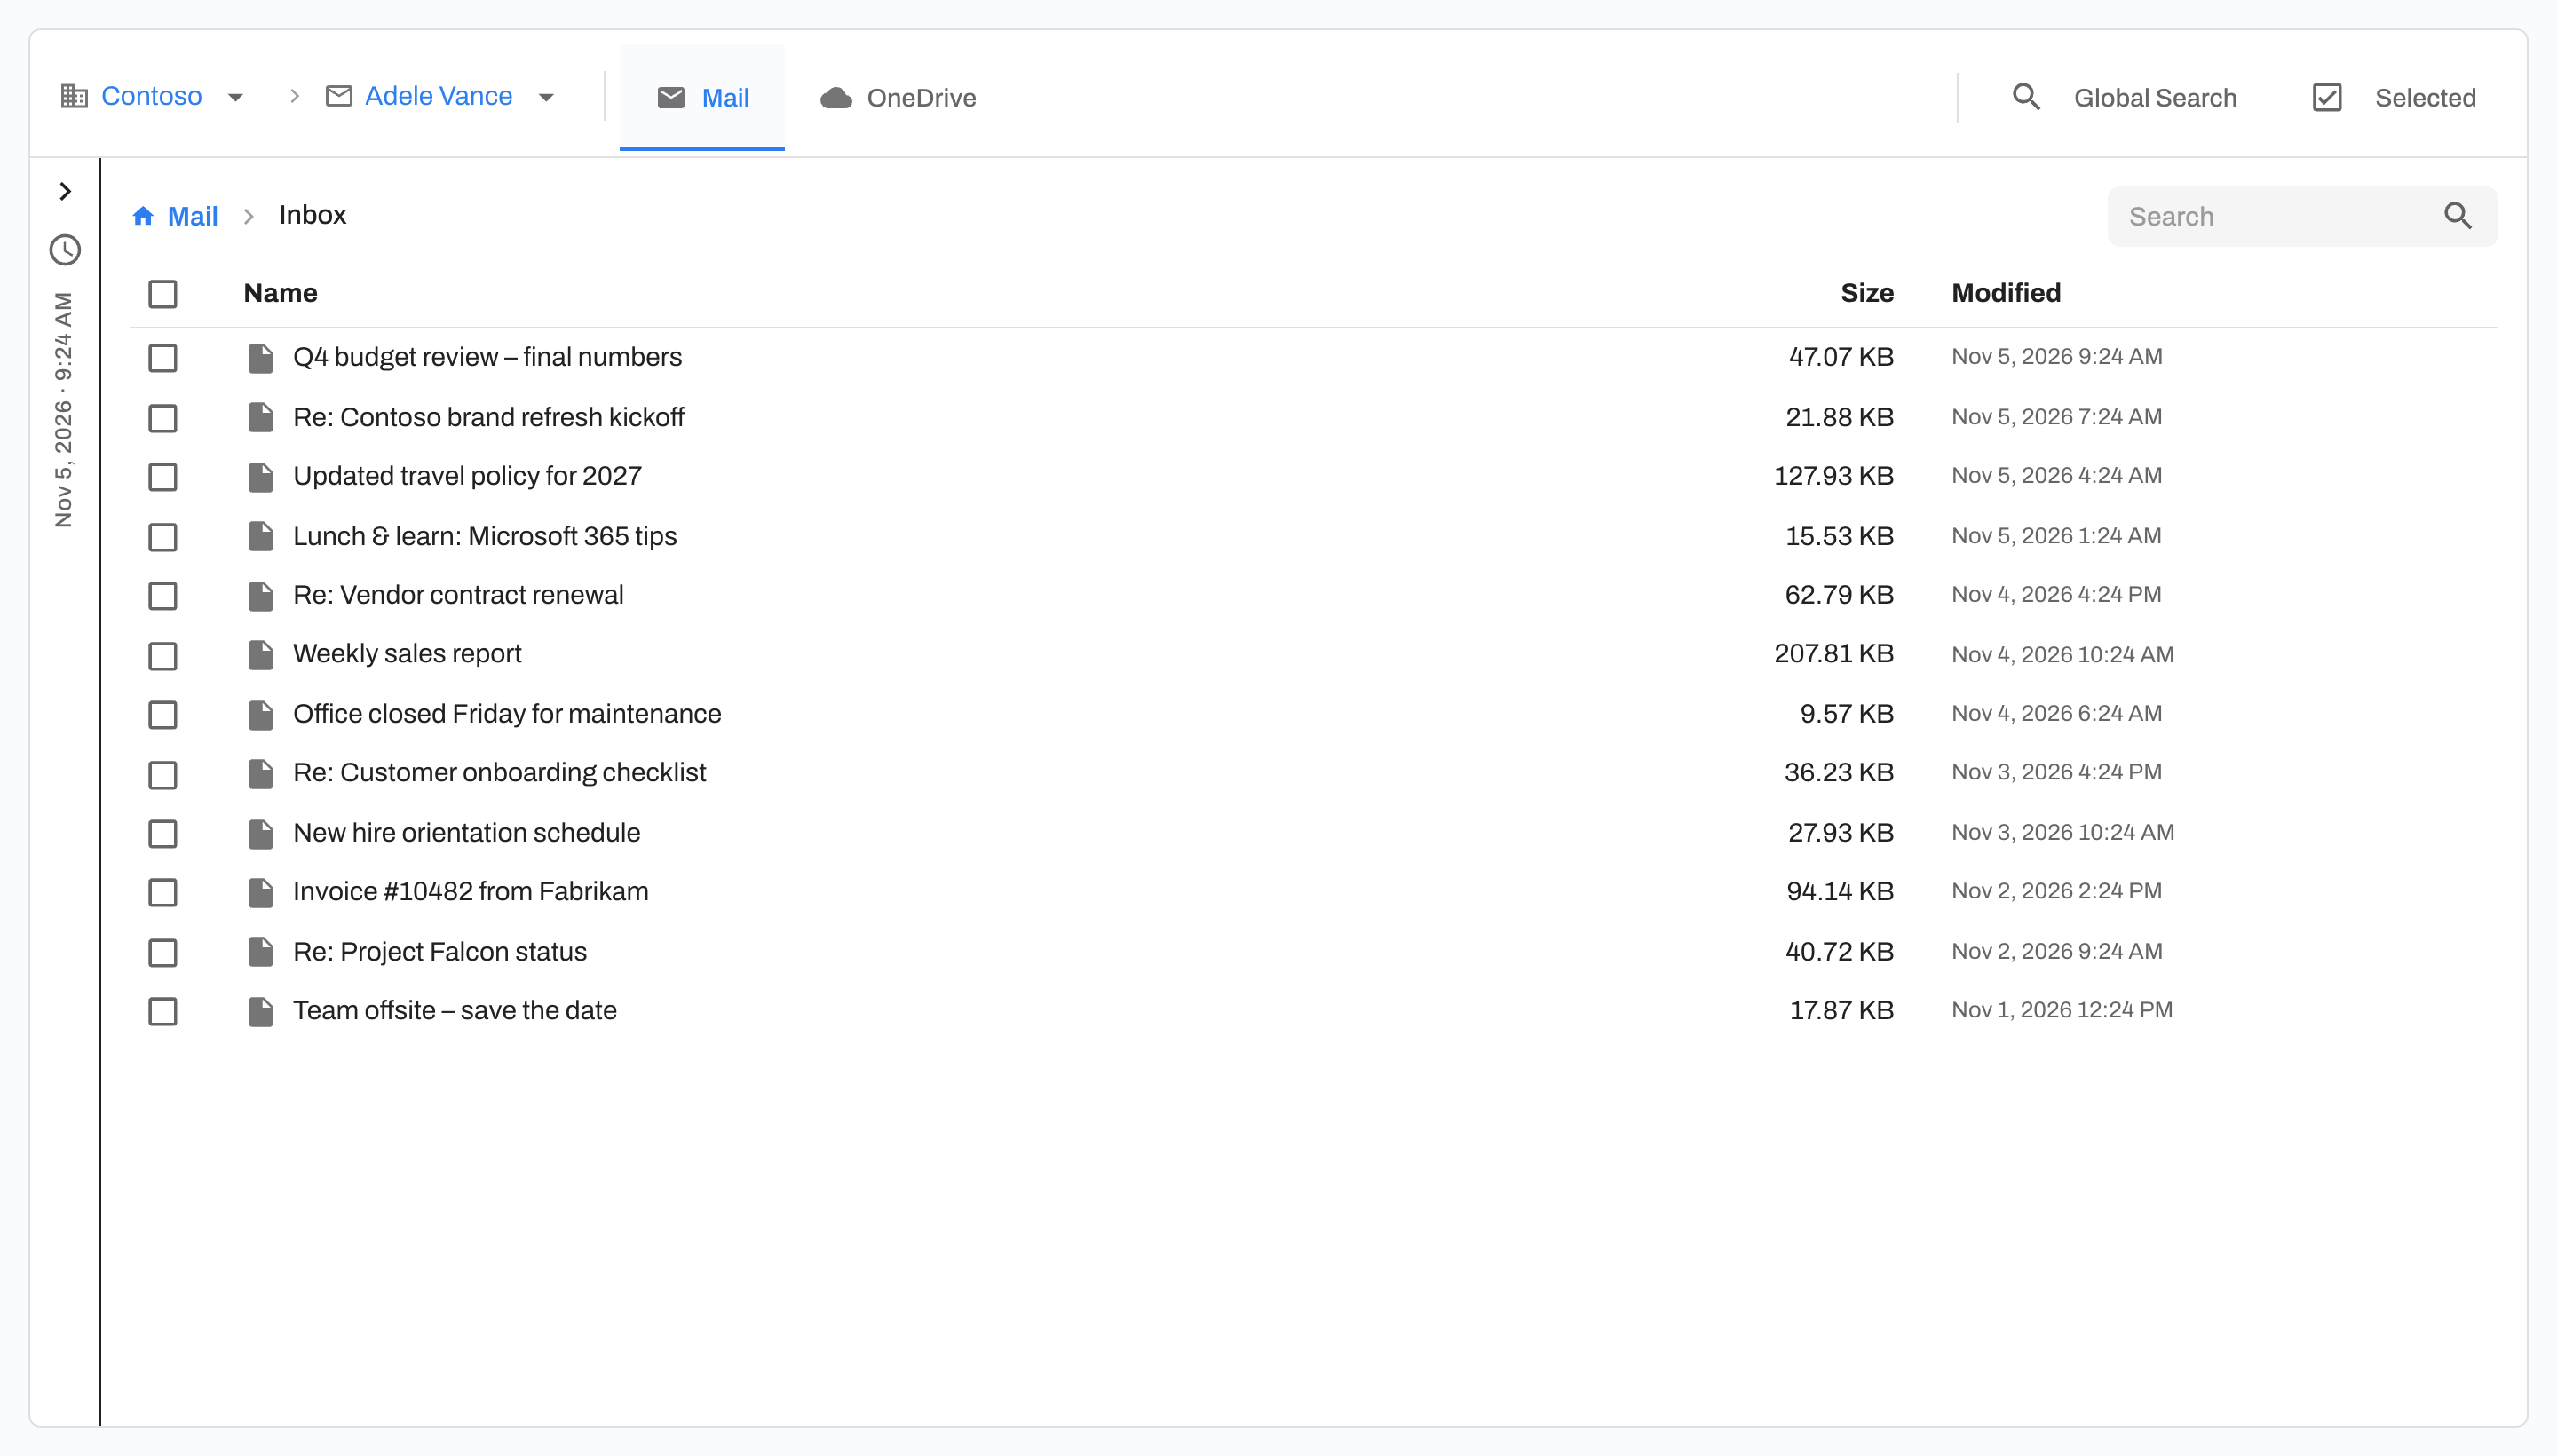
To browse a recovery point:
- Pick a Client (optional), a Tenant, and a Resource at the top of the page.
- Choose an application tab, such as Mail or OneDrive.
- Pick a recovery point from the calendar on the left. Click Latest to jump to the most recent one.
- Browse folders and click an item to preview it.
Selecting Items
To select items, check them in the list. You can also choose Select this folder or Select entire recovery point. Your selection appears in the Selected drawer, where you can download it, create a share link, or click Start new restore.
Your selection stays in the Selected drawer while you switch between resources, applications, and recovery points, so you can collect items from anywhere in the tenant. Switching to a different tenant clears it.
What you can do with a selection depends on what's in it:
- Download or Share link: Any mix of items. See Downloading for the extra limits on PST files.
- Start new restore: Every item must be from the same application, such as all Mail or all OneDrive. If all of the items come from one user or mailbox, you can restore them back to it. If they come from more than one, you choose one user or shared mailbox to receive all of them.
Searching
The Global Search tab searches across the resources and applications of a tenant. You can filter by Resources, Applications, and Date range (the last 24 hours, 7, 30, or 90 days, or a custom range). Search defaults to the last 7 days.
Search matches email subjects, senders, recipients, and the beginning of each message, and the names and folders of files.
Restoring an Earlier Version of an Item
Each recovery point holds your data as it was when that backup ran. To get an earlier version of an item:
- By browsing: Pick an earlier day in the calendar on the left, then the recovery point you want from that day. Find the item and select it.
- From search: On the Global Search tab, open a result and click the history icon on the right edge of the preview (its tooltip says Show recovery points). Click a recovery point to preview the item as it was then. Then click Add to selection, or use the Download, Share link, or Restore buttons at the top of the preview.
To restore, download, or share what you've selected, see Restores.