Single Sign-On (SSO)
Single Sign-On (SSO) lets your team log in to the Slide Console using your existing identity provider instead of managing separate credentials. Once configured, users authenticate through your IdP and gain access without an additional login.
Slide supports SSO via OIDC (OpenID Connect). The sections below walk you through configuring an identity provider (Microsoft Entra ID) and enabling SSO for your account.
Configuring an Identity Provider (Microsoft Entra ID OIDC)
Create App Registration
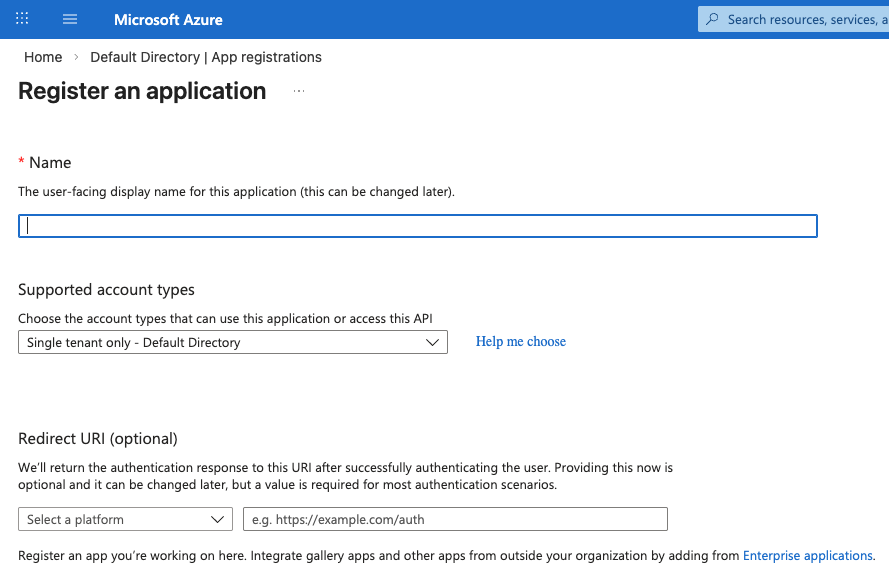
Go to https://entra.microsoft.com and navigate to: Identity > Applications > App registrations > New registration
Set:
- Name: Your app name
- Account type: Single tenant (Recommended)
- Redirect URI: Platform: Web URL:
https://auth.slide.tech/realms/slide/broker/<id>/endpoint
Note
The Redirect URI can be found in the Account Settings page when enabling SSO.
Click Register.
Copy Required Values
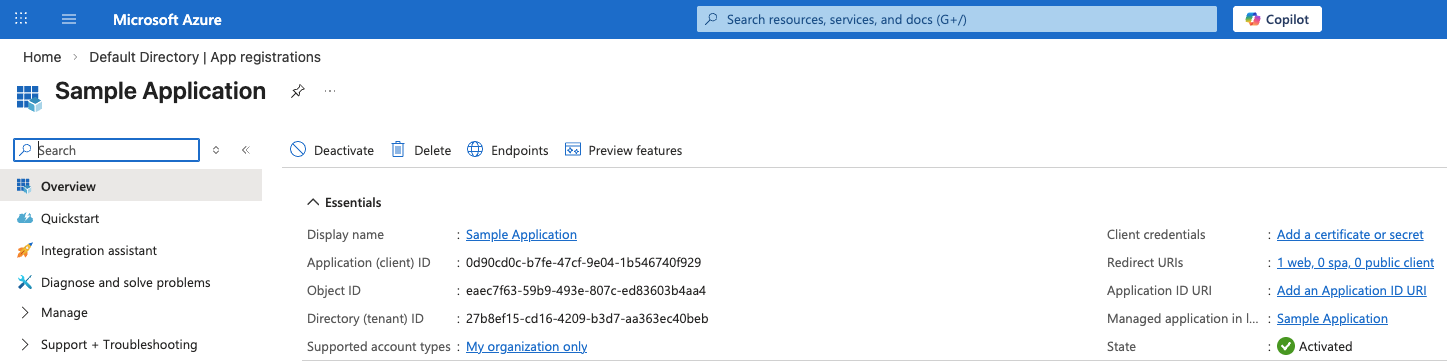
From Overview, copy:
- Client ID:
<Application (client) ID>
Configure Authentication
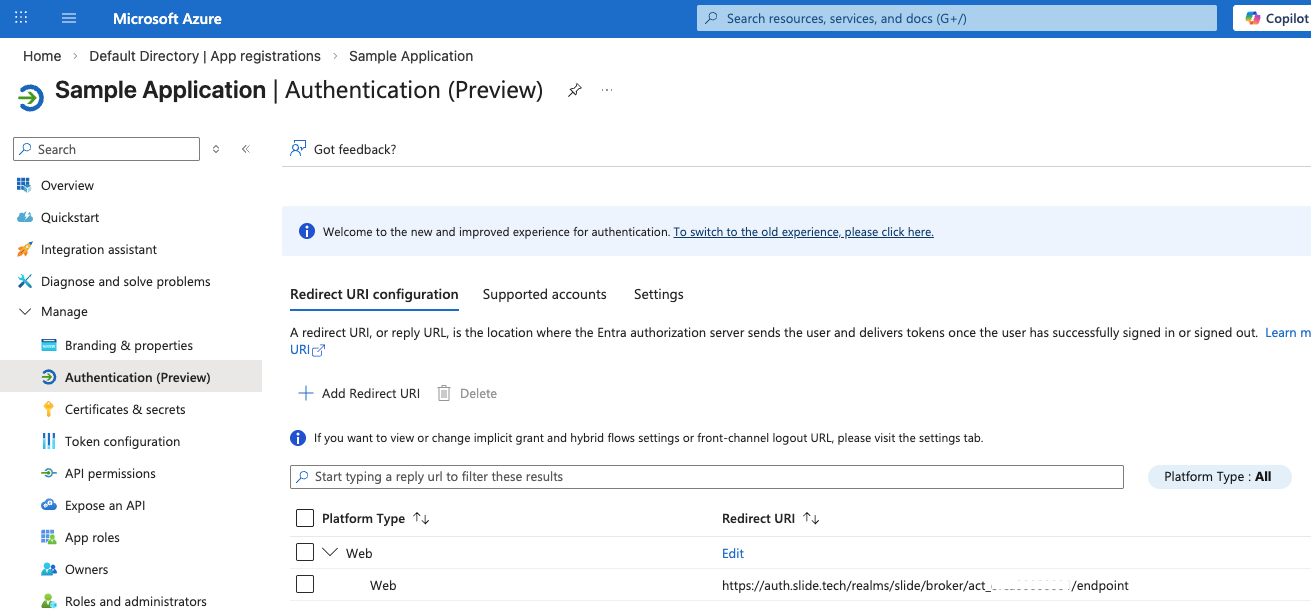
Navigate to Authentication > Add platform > Web and:
- Add the same Redirect URI from step 1
- Enable ID tokens
- Enable Access tokens (optional)
Click Save.
Note
This redirect URI may already be configured if it was set during app registration.
Create Client Secret
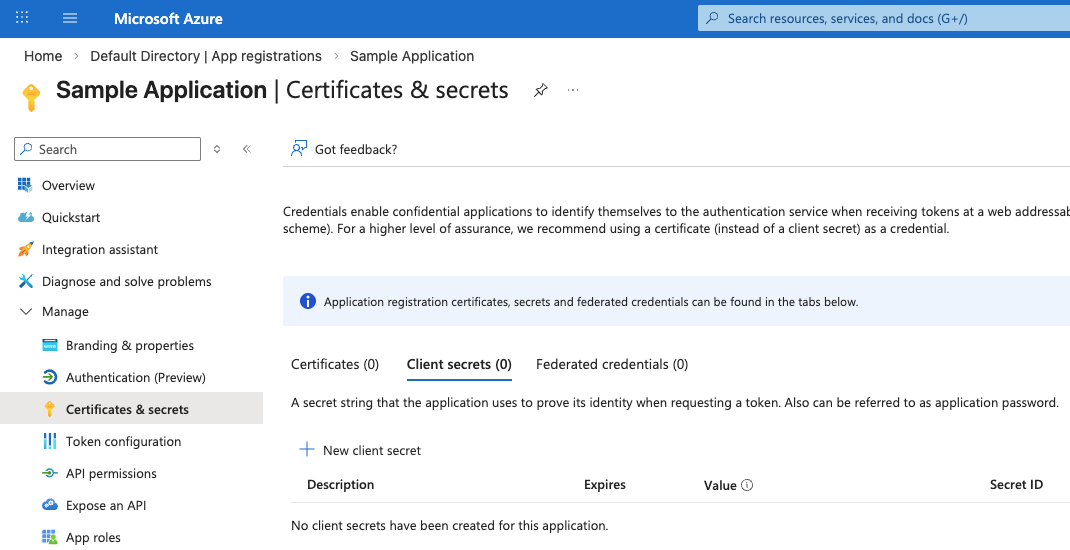
Navigate to Certificates & secrets > New client secret and copy the value immediately — it won't be shown again.
Use These OIDC Settings
Authority: https://login.microsoftonline.com/{tenant-id}
Authorize URL: https://login.microsoftonline.com/{tenant-id}/oauth2/v2.0/authorize
Token URL: https://login.microsoftonline.com/{tenant-id}/oauth2/v2.0/token
Use These Token Configuration Settings
Navigate to Token Configuration > + Add Optional Claim > ID
- Token Configuration: Add an optional claim (token type:ID) for upn and email
- Check the box to add to the Microsoft Graph API
Configuring SSO in Slide Console
Enable SSO
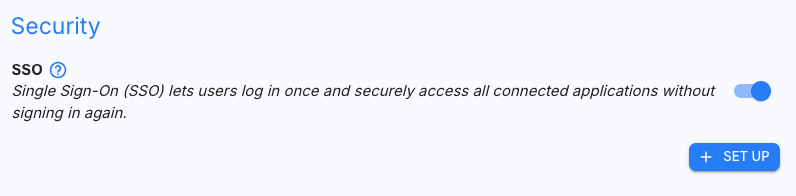
Navigate to Account Settings > Security > SSO and toggle SSO on.

Once enabled, click SET UP.
Configure OIDC Settings
In the setup modal, enter the required values from your identity provider:
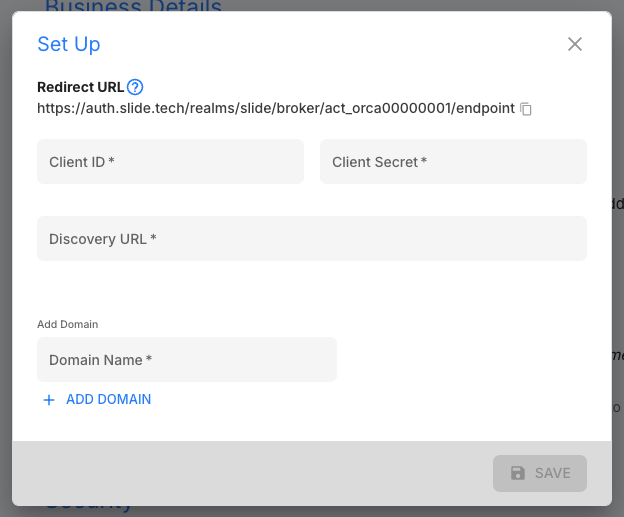
Required Fields
- Redirect URL — copy this value and configure it in your IdP
- Client ID — from your IdP (e.g., Microsoft Entra App Registration)
- Client Secret — from your IdP
- Discovery URL — your IdP's OpenID configuration endpoint, sometimes referred to as the OpenID Connect metadata document. Example (Microsoft Entra):
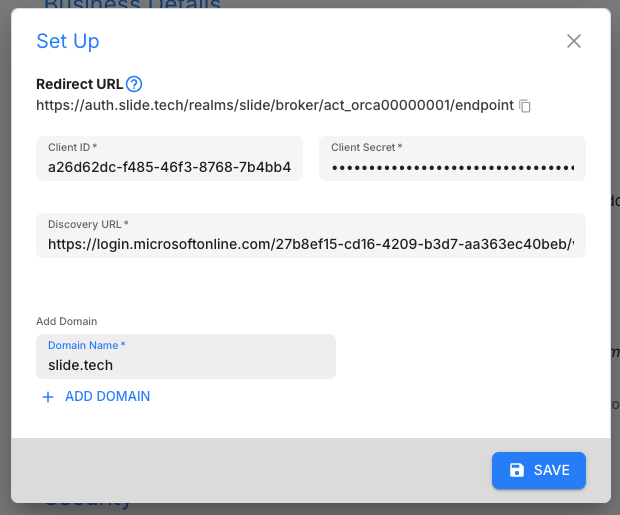
Add Your Domain
Under Add Domain, enter your company domain (e.g., slide.tech). You can add multiple domains by clicking ADD DOMAIN.
Once all desired domains are added, click SAVE.
Verify Domain Ownership
After saving, go to Manage Domains.
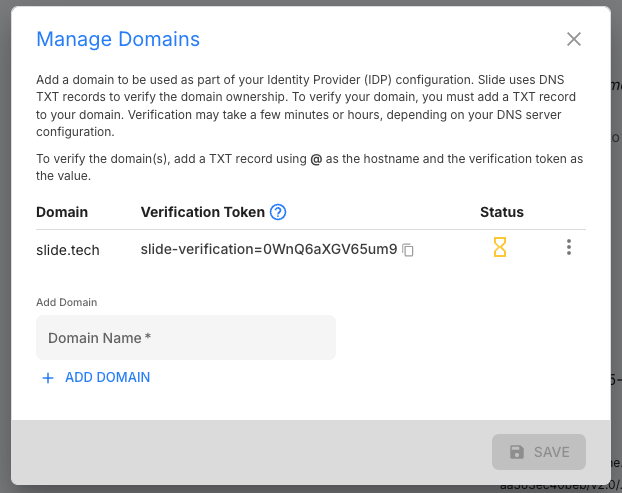
- Copy the Verification Token
- Add a DNS TXT record to your domain:
| Field | Value |
|---|---|
| Host | @ |
| Type | TXT |
| Value | <verification-token> |
- Wait for DNS propagation (this may take several minutes)
- Refresh until the status shows verified
Confirm Configuration
Once configured, your SSO settings will display the Client ID, Discovery URL, and verified domain.
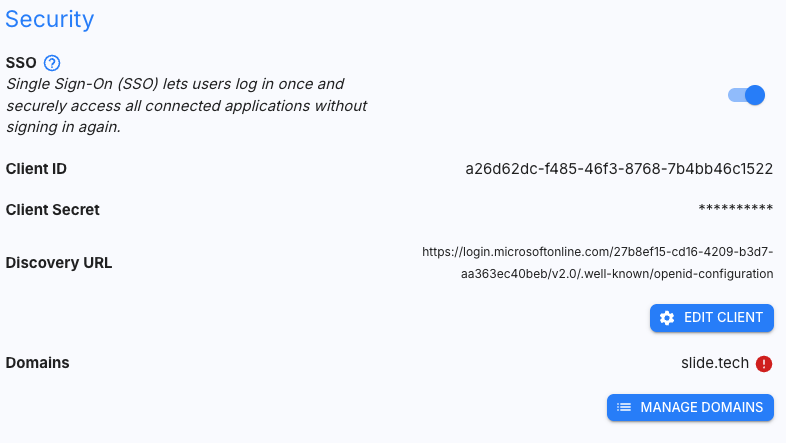
Note
The Redirect URL must match exactly what's configured in your IdP. Domain verification is required before SSO becomes active.
Configuring Existing Users for SSO in Slide Console
With SSO configured, you'll need to update each user's account before they can log in with SSO.
Note
It is required to leave at least one account without SSO to be used as a break glass account in case of a possible outage with your IdP. The owner/admin account type is recommended for this purpose.
Select a User
From the Users page, click the user you want to update.
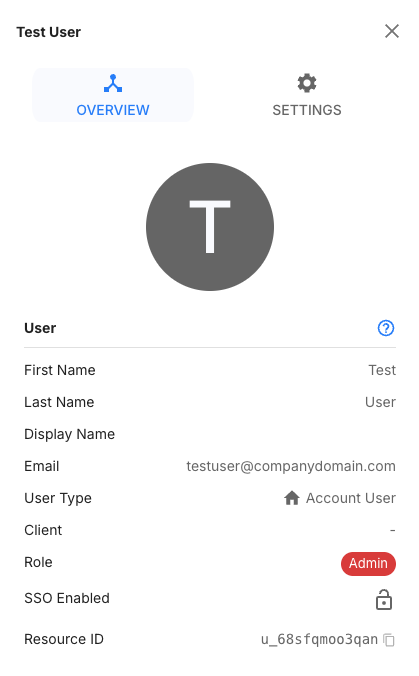
Enable SSO for the User
Select the Settings tab. Under Role, you'll see a new section with an Enable SSO toggle.

Switch Enable SSO on, then click Save.

Note
The user's email domain must match a verified domain in your SSO configuration. Plus addressing or subaddressing is not supported
Note
Plus addressing or subaddressing is not supported
Note
At least one user account must remain without SSO enabled. This is your break glass account that can be used if your IdP ever stops working. Ensure you document this account.
Creating New Users for SSO in Slide Console
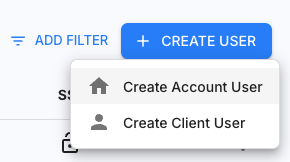
Select Create Account User
From the Users page, click Create User in the top-right corner, then select Create Account User.
Fill Out User Details
Complete the form with the new user's information. The Enable SSO toggle is on by default. Click Save.
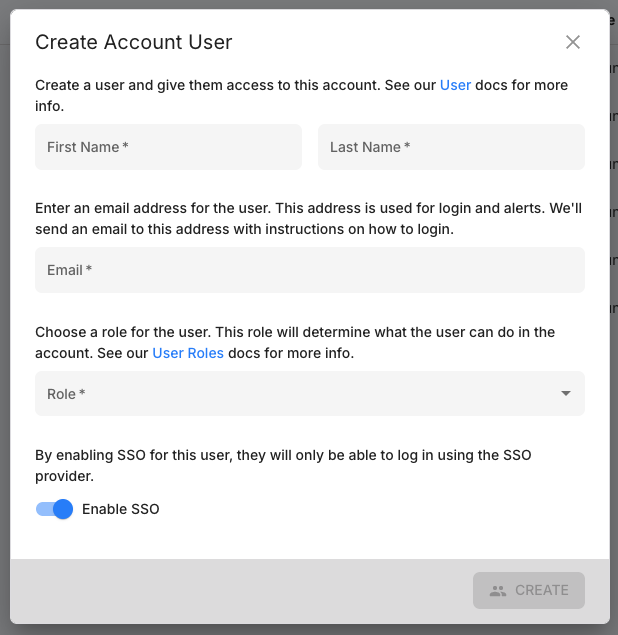
Note
The user's email domain must match a verified domain in your SSO configuration.
Disabling SSO
For Individual Users
When you disable SSO for a user, Slide generates a temporary password and emails it to them.
Organization-Wide
When you disable SSO at the account level, users with SSO enabled won't be able to log in until they reset their password.
Troubleshooting
SSO has stopped working for all users
Make sure your expiration date on the app registration has not passed. This can be changed in Entra. This may be a great time to use your break glass account to log back into Slide.
I cannot migrate an account to SSO
Make sure that at least one other user account is not on SSO. SSO cannot be enabled for all accounts as one must remain as a break glass account.