Authorization
Before Slide can back up a Microsoft 365 tenant, you need to sign in to Microsoft and grant Slide access to it. This page explains the two ways to connect a tenant, what access Slide asks for, and what to do if something goes wrong.
Choosing a Connection Method
To connect a tenant, navigate to SaaS > Tenants in the Slide Console and click Protect New. The Protect a tenant dialog offers two options:
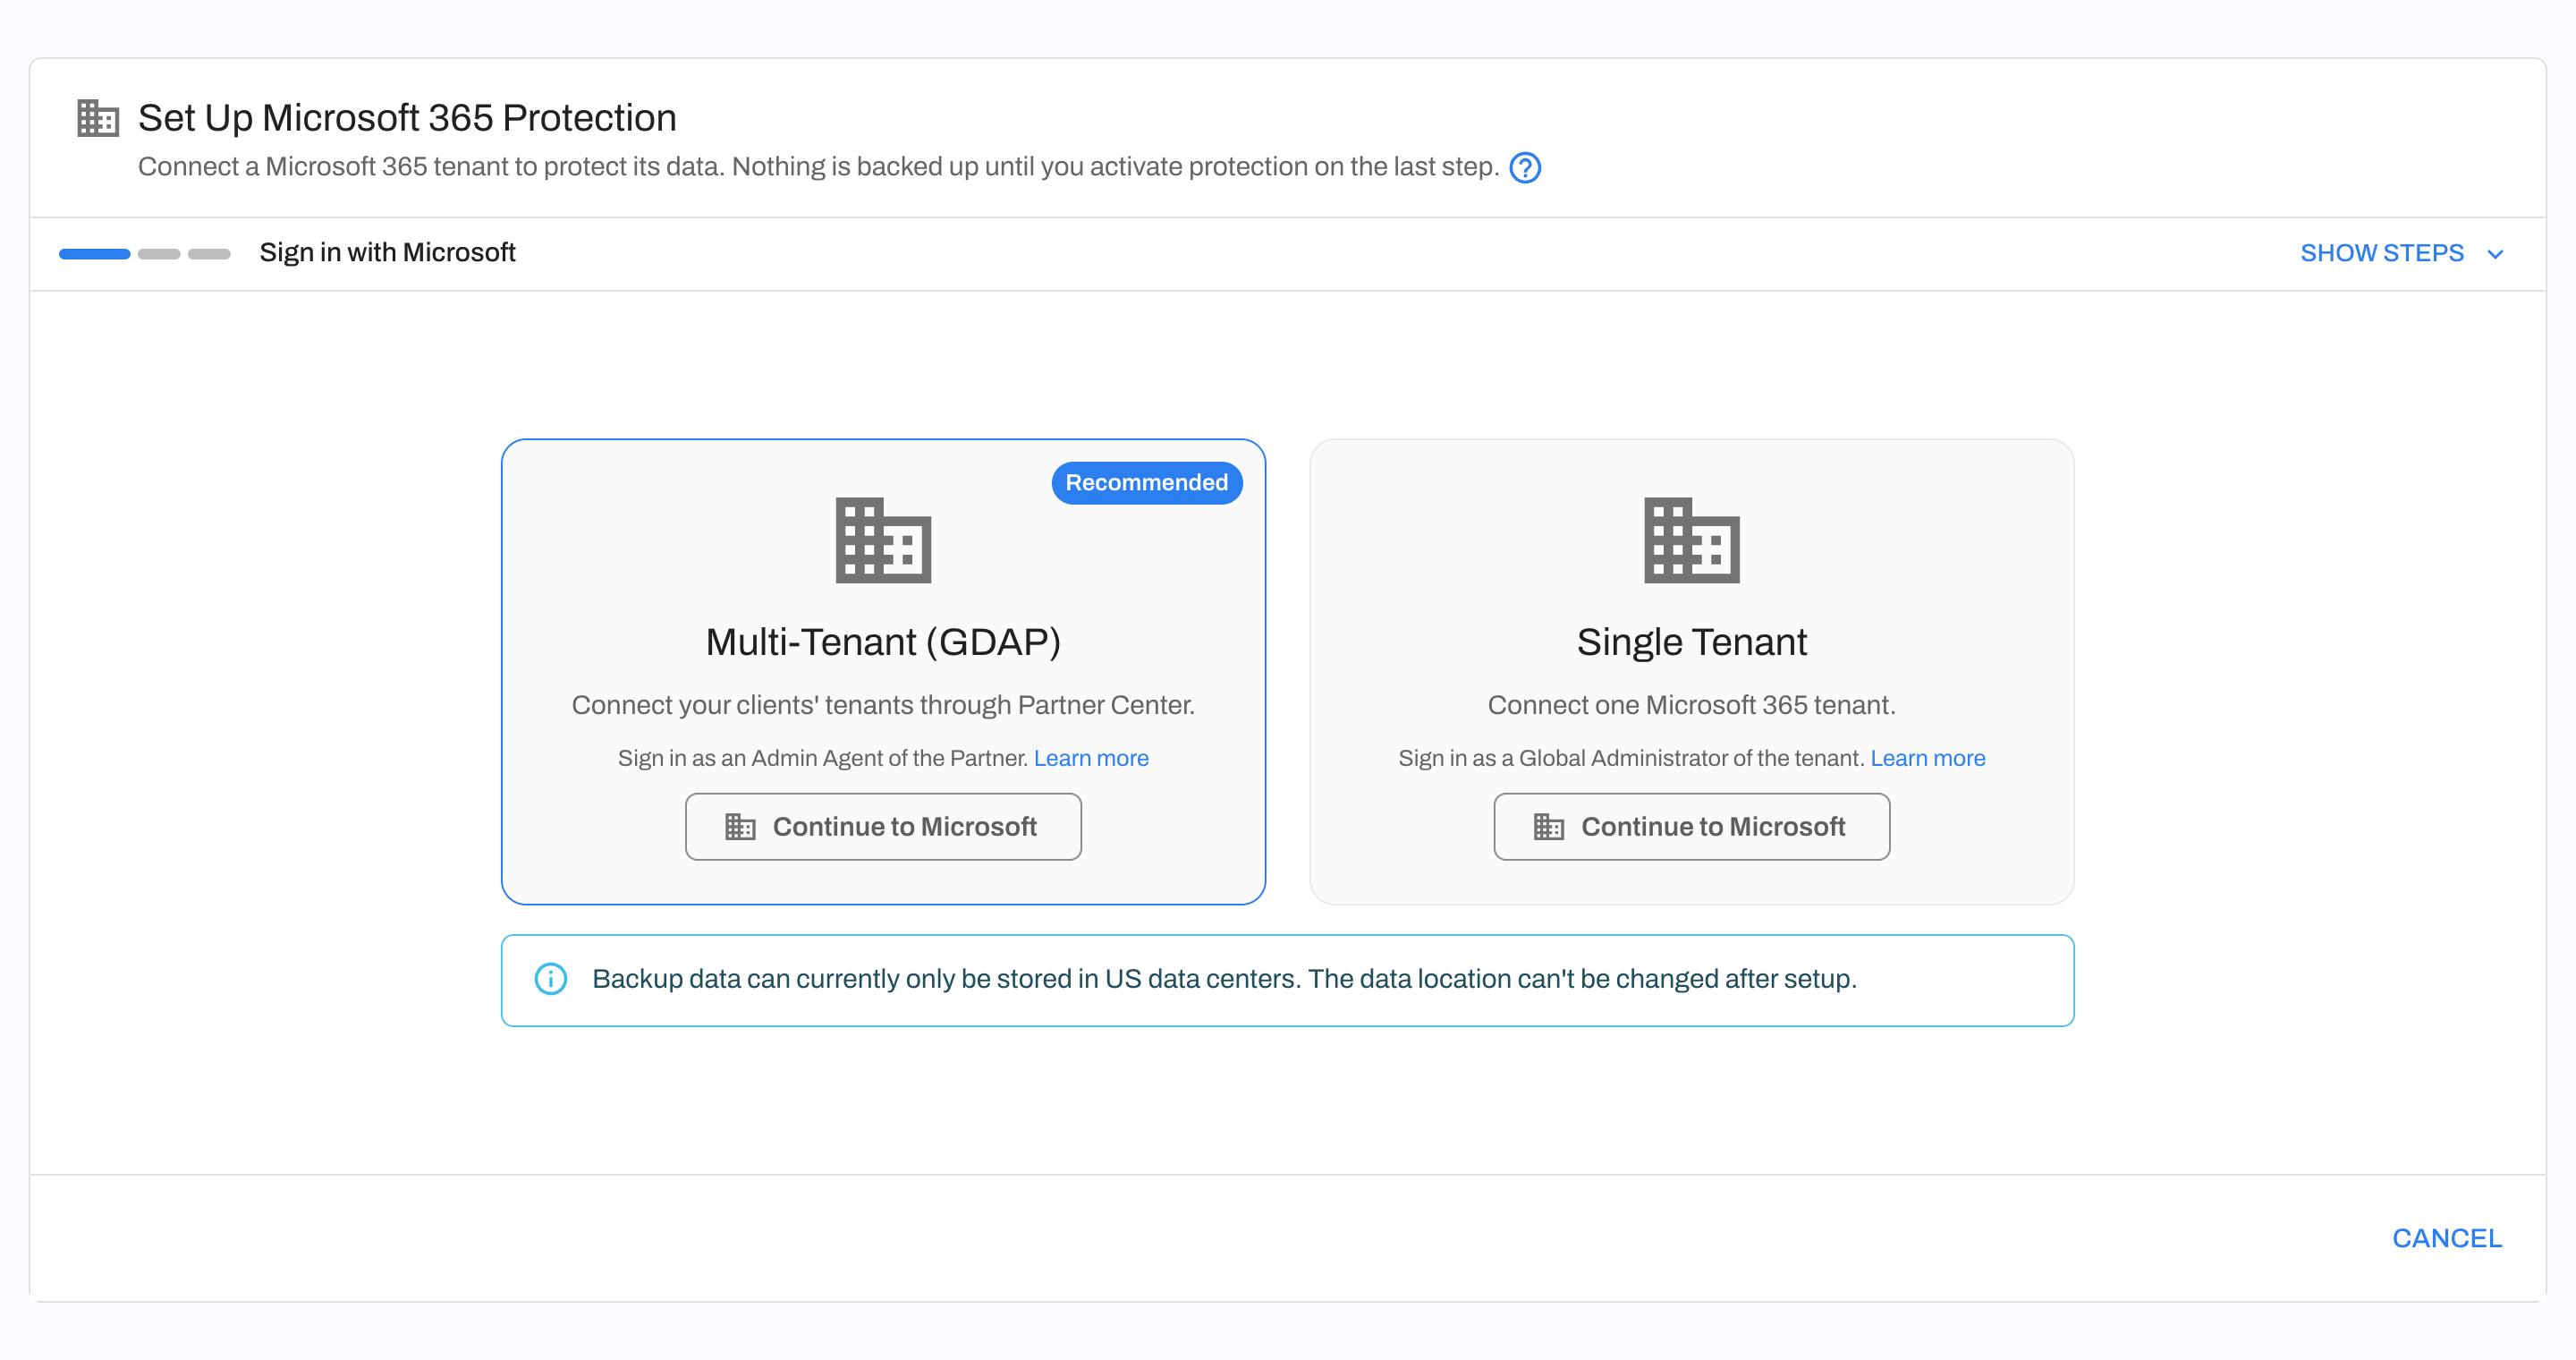
- Multi-Tenant (GDAP) (recommended): Connect your clients' tenants through Microsoft Partner Center using your granular delegated admin privileges (GDAP) relationships. You sign in once as an Admin Agent of your partner tenant and can then set up many client tenants in one go.
- Single Tenant: Connect one Microsoft 365 tenant. You sign in as a Global Administrator of that tenant. Use this for clients you don't have a GDAP relationship with, or for your own organization's tenant.
Info
Backup data can currently only be stored in US data centers. The data location can't be changed after setup.
Nothing is backed up until you activate protection on the last step of setup.
What Access Slide Needs
When you sign in, Microsoft asks you to approve Slide's access. Slide then creates its own apps in the tenant, named with the prefix Slide Backup. These apps use certificates (not passwords) that Slide renews automatically.
- Discovery and backup (read-only): Lets Slide find users, mailboxes, groups, and sites, and read mail and files so they can be backed up.
- Restore (read-write): Lets Slide write data back into Microsoft 365 when you restore. Slide never changes data in Microsoft 365 unless you start a restore.
You can see the Slide Backup apps in the Microsoft Entra admin center under Enterprise applications. For every permission each app holds and what Slide uses it for, see Permissions.
Warning
Don't delete the Slide Backup apps or remove their permissions. If you do, backups for the tenant will fail until you re-authorize it.
Connecting with GDAP
- In the Protect a tenant dialog, choose Multi-Tenant (GDAP) and click Continue to Microsoft.
- Sign in as an Admin Agent of your partner tenant and approve access.
- Back in the Slide Console, choose which of your customer tenants to set up protection for. The list shows each customer's Name, Status, Primary Domain, Relationship, and Microsoft ID. Customers that are already protected in Slide can't be selected again.
- Click Protect Selected.
- For each tenant, choose a Client and confirm the Auto-Protect and Retention settings. Use the Apply to All row to set Auto-Protect and Retention for every tenant at once. You can still change any row afterwards.
- Click Activate Protection.
Slide shows the progress of each tenant as it's set up. If some tenants fail, you can click Retry Failed. Unfinished tenants stay in your tenants list as Pending Connection or Pending Activation, so you can finish each one later.
- Your own organization's tenant isn't in the GDAP customer list. Connect it with Single Tenant instead.
- New customers you add in Partner Center later aren't picked up automatically. To protect them, run the Multi-Tenant (GDAP) setup again and select the new customers.
Tip
If you see No GDAP relationships found, your partner tenant doesn't have an active GDAP relationship with any customers. You can still protect a tenant by choosing Use Single Tenant and signing in as a Global Administrator of that tenant.
Connecting a Single Tenant
- In the Protect a tenant dialog, choose Single Tenant and click Continue to Microsoft.
- Sign in as a Global Administrator of the tenant and approve access.
- Back in the Slide Console, Slide verifies the organization and shows the settings for the tenant:
- Primary Domain: The tenant's primary domain. This can't be changed.
- Display Name: The name Slide uses for this tenant.
- Client: The client this tenant belongs to. You can pick an existing client or type a new name to create one.
- This is our own organization: Marks the tenant as your own organization's tenant. See Your Own Organization.
- Auto-Protect Resources: Automatically protect discovered resources. This is on by default. See Auto-Protect.
- Retention Period: How long recovery points are kept: 1 year (default), 3 years, or 7 years. See Retention.
- Click Activate Protection.
Warning
The retention period is set when protection is first activated and can't be changed in the Slide Console afterwards. To change it, contact Slide support.
After Setup
If Auto-Protect is enabled, you'll see Protection Active. Slide starts discovering and backing up resources right away. There's nothing else you need to do.
If Auto-Protect is disabled, you'll see Setup Complete. Slide discovers the tenant's resources, but none of them are protected yet. Click Protect Resources to choose which resources to protect.
Finishing a Pending Tenant
If you close the setup dialog before it's done, the tenant stays in your tenants list so you can pick up where you left off. Open the tenant from the Tenants page:
- Pending Connection: Click Continue to Microsoft to sign in and approve access.
- Pending Activation: Click Activate Protection to choose settings and activate.
Re-Authorizing a Tenant
If the Slide Backup apps are removed or their consent is revoked in Microsoft 365, Slide loses access to the tenant. Its backups fail and its applications show Needs attention until access is restored. Existing recovery points are kept.
To fix this, open the tenant from the Tenants page, go to the Settings tab, and click Re-Authorize in the Re-Authorize section. Click Continue to Microsoft and sign in to approve access again:
- Single Tenant: Sign in as a Global Administrator of the tenant.
- Multi-Tenant (GDAP): Sign in as an Admin Agent of your partner tenant.
Warning
Re-authorizing disconnects the tenant, clears its existing credentials, and requires going through setup again.
Troubleshooting
If setup fails, Slide shows what went wrong and the step it failed at. Click Try Again to retry. If it keeps happening, contact Slide support.
- The consent link expired: Consent links are only valid for a short time. Start the setup again.
- Access wasn't granted: Sign-in was cancelled, or the account you signed in with isn't an administrator of the tenant. Sign in with a Global Administrator (Single Tenant) or an Admin Agent (GDAP).
- This setup link can't be used: The link belongs to another Slide account or has already been used. Start the setup again from the Slide Console.
- Slide couldn't create its apps in your tenant: Make sure you're signed in with an account that's allowed to create apps and grant consent in the tenant.
- No GDAP relationships found: See the tip in Connecting with GDAP.
- A GDAP tenant failed to set up: Click Retry Failed and sign in again with your partner account (an Admin Agent), not the client's Global Administrator. Signing in as the client's administrator shows No customer tenant found. If it still fails, delete the tenant and connect it with Single Tenant instead.
- Microsoft shows "Request approval" instead of an approve button: The tenant has an admin consent workflow turned on, so even a Global Administrator has to request approval. Ask one of the tenant's consent approvers to approve the request in the Microsoft Entra admin center, then start the setup again.
- Your role can't connect this tenant: Only an Account Owner or Account Admin can finish connecting your own organization's tenant. See Users.