BMR with Rescuezilla
Rescuezilla is a third-party disk imaging tool that can perform a Bare Metal Restore from a Slide Image Export. This is an alternate, more manual workflow; for most recoveries, use Slide BMR.
Danger
Rescuezilla permanently overwrites the destination drive selected for restore. Confirm the drive model and capacity before starting.
What you need
- a USB drive for the Rescuezilla recovery media;
- a separate drive or network share for the Slide Image Export;
- one destination drive for each image you plan to restore; and
- the protected system's agent passphrase, if it uses a user-managed passphrase.
1. Create the Rescuezilla USB drive
- Download the current Rescuezilla ISO.
- Install Etcher or another raw-image writer.
- Use Etcher to write the Rescuezilla ISO to the USB drive.
Warning
Writing the ISO erases the selected USB drive. Confirm that you selected the correct removable drive.
2. Create the Slide Image Export
- In the Slide Console, open Restores and select Create Restore.
- Choose Image Export.
- Select the protected system, snapshot, and location.
- Select Dynamic VHDX as the format and create the export.
- When the export is ready, make the VHDX available to Rescuezilla:
- download it to a separate drive that you can attach to the destination; or
- use the Samba or NFS share provided by a local Slide Box.
Dynamic VHDX is recommended because the exported file is based on the snapshot's used space. VHD, fixed VHDX, and raw files can be as large as the source volume's full capacity.
See Image Export for details about creating and accessing an export.
3. Restore the image
- Connect the Rescuezilla USB drive and boot the destination from it. If the normal boot fails, try Rescuezilla's Graphical fallback option.
- Select Restore.
-
Choose where the exported image is stored:
- select Connected directly to my computer for an attached drive; or
- select Shared over a network for a Samba or NFS share, then enter the share location and credentials.
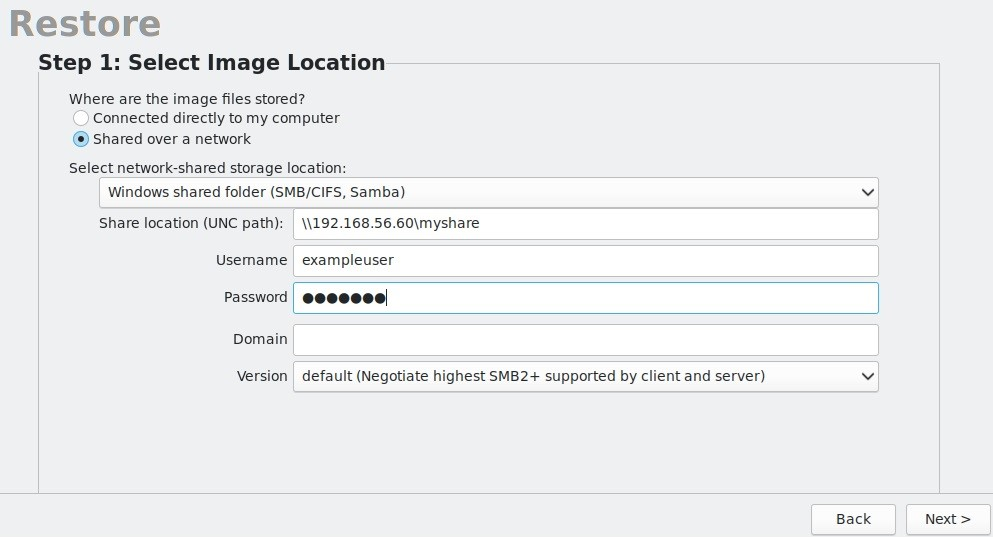
Selecting the restore location in Rescuezilla -
Select the image file for the protected system's operating-system drive.
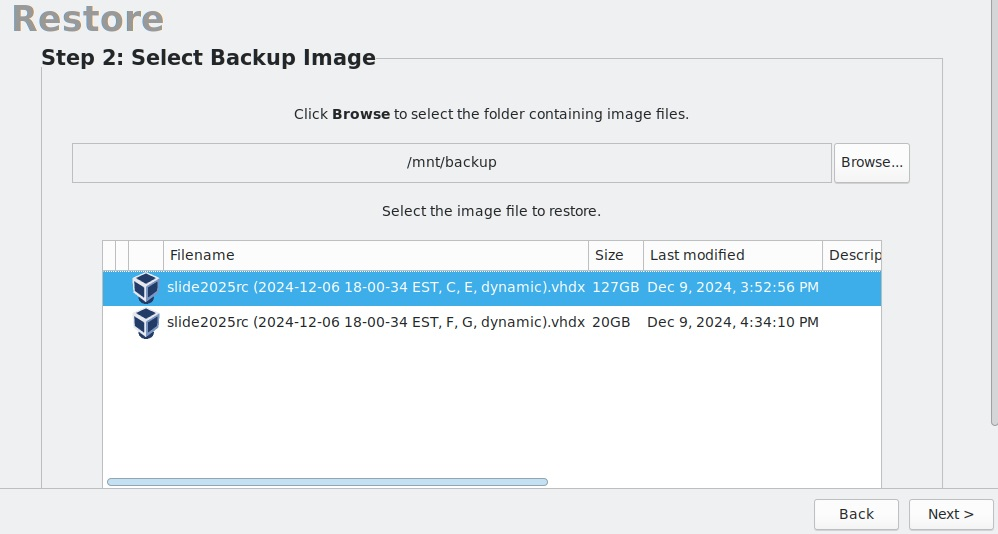
Selecting the image file in Rescuezilla -
Select the physical destination drive. All existing data on this drive will be overwritten.
-
Review the partition selection and continue.
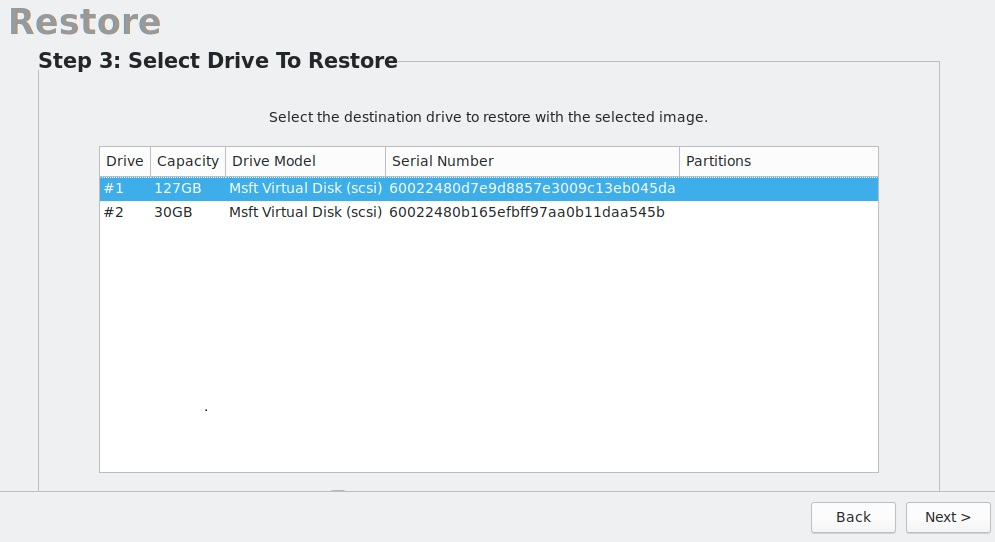
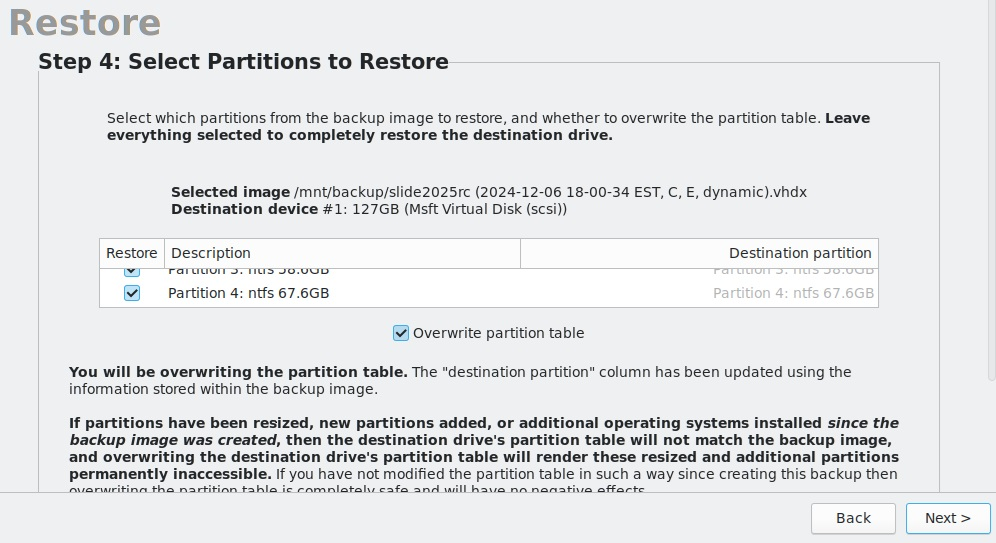
Selecting the destination drive and restore partitions -
Start the transfer and wait for it to finish. Do not remove the recovery media or power off the destination while the transfer is running.
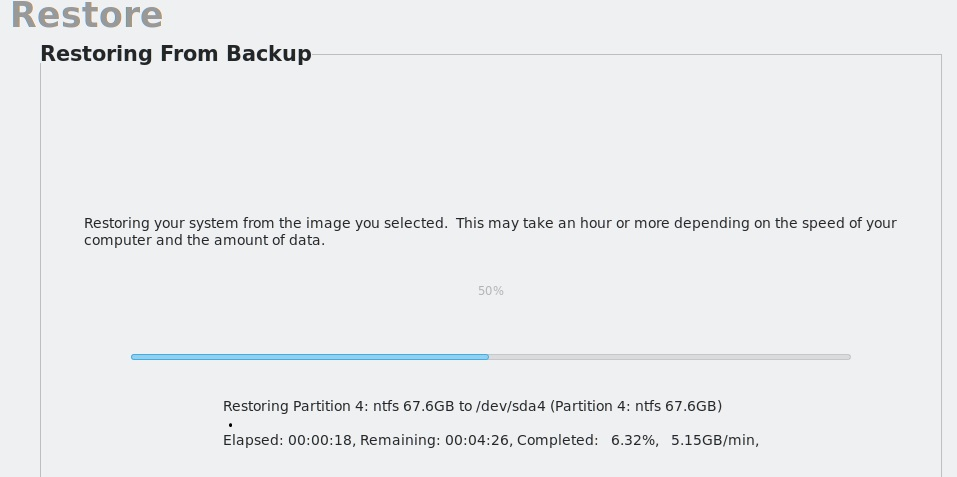
Transferring an image in Rescuezilla -
If the protected system has additional disks, repeat the restore with each image file and its intended destination drive.
- Shut down Rescuezilla, remove the USB drive, and boot the restored system while it remains isolated from the original system.
4. Restore additional data volumes when needed
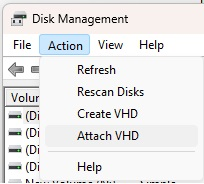
You can restore each additional volume with Rescuezilla. Alternatively, after the operating system is running, you can attach a VHD or VHDX in Windows Disk Management and copy the required data to a new local volume:
- Open Disk Management.
- Select Action > Attach VHD.
- Browse to the exported VHD or VHDX.
- Copy the required data to the intended local volume.
5. Re-enable the Slide Agent
The Slide Agent service is disabled in an Image Export. For a production recovery:
- Open Services in the restored Windows system.
- Find Slide Agent, right-click it, and select Properties.
- Change Startup type from Disabled to Automatic, then select Apply.
- Select Start and confirm the service changes to Running.
- In the Slide Console, confirm the protected system reconnects and scheduled backups resume.
Do not bring the original protected system online while the restored system is running. If the restored system does not boot or the Slide Agent does not reconnect, contact Slide Support.