Manually accessing backups on a Slide Box
If you need to manually access the backups stored on your Slide Box, you can do so using Ubuntu Linux and standard ZFS commands. This guide walks you through the technical process of recovering your backup data directly from a Slide Box, or its raw disks.
While the steps are technical, we've worked to make them as clear and straightforward as possible. If you normally use Windows, don't worry — the guide covers everything you need to follow along.
If you need help, contact Slide Support.
Info
This guide only works for Slide Agents with Slide-managed passphrases. If you are using user-managed encryption passphrases, Slide cannot retrieve the raw encryption keys for you. We are working on making this possible in the future.
Overview
This guide will help you to:
- Create a bootable USB Ubuntu Linux environment
- Import the ZFS pool from your Slide Box which contains your backup data
- Load encryption keys and access your encrypted agent datasets
- Mount and copy your important files to another location
Anatomy of a Slide Box Pool
A Slide Box stores your backup data in ZFS format with ZFS native encryption. The disk(s) in a Slide Box contain a ZFS pool named slide that can be accessed using Ubuntu Linux (or any other Linux distribution that supports ZFS).
Your backup data is organized in the pool as follows:
- Pool name:
slide - Agent datasets: Located at
slide/agents/a_*(where*is a unique identifier for each agent) - Encryption: Each agent dataset is encrypted using ZFS native encryption with individual keys
- Backup files: Within each agent dataset, backup data is stored as
disk_*.rawfiles (one file per raw disk, containing all partitions/volumes)
Each agent dataset requires its own encryption key to access the backup data. These keys can be requested from Slide Support.
Info
We are working on a better way to access your raw backup keys, but for now, you will need to request them from Slide Support. Our goal is to allow you to always access your backups, without locking you in.
Prerequisites
- A Slide Box, or all the drives from a Slide Box
- The agent encryption keys for your datasets (request from Slide Support)
- A USB drive with at least 8 GB capacity (will be erased)
- A computer with at least 8 GB RAM and ability to boot from USB
- Basic comfort following technical instructions
Step 1: Download Ubuntu
First, download Ubuntu Linux to create a bootable USB drive.
- Go to https://ubuntu.com/download/desktop
- Download the latest Ubuntu Desktop LTS (Long Term Support) version
- You'll get a file named something like
ubuntu-24.04.3-desktop-amd64.iso
Step 2: Create Bootable USB
- Download Rufus: Go to https://rufus.ie and download Rufus
- Insert USB drive (at least 8GB, will be erased!)
- Run Rufus as Administrator
- Configure Rufus:
- Device: Select your USB drive
- Boot selection: Click "SELECT" and choose your Ubuntu ISO file
- Partition scheme: GPT
- Target system: UEFI
- Click START and wait for completion (takes 5-15 minutes)
Step 3: Boot Ubuntu from USB
- Connect your Ubuntu USB drive to your Slide Box
- Restart the Slide Box and boot from USB. To do this on the Slide Box (Z1/R1/B1), press DEL repeatedly early during startup to access the boot menu.
- Select your USB drive from the boot menu
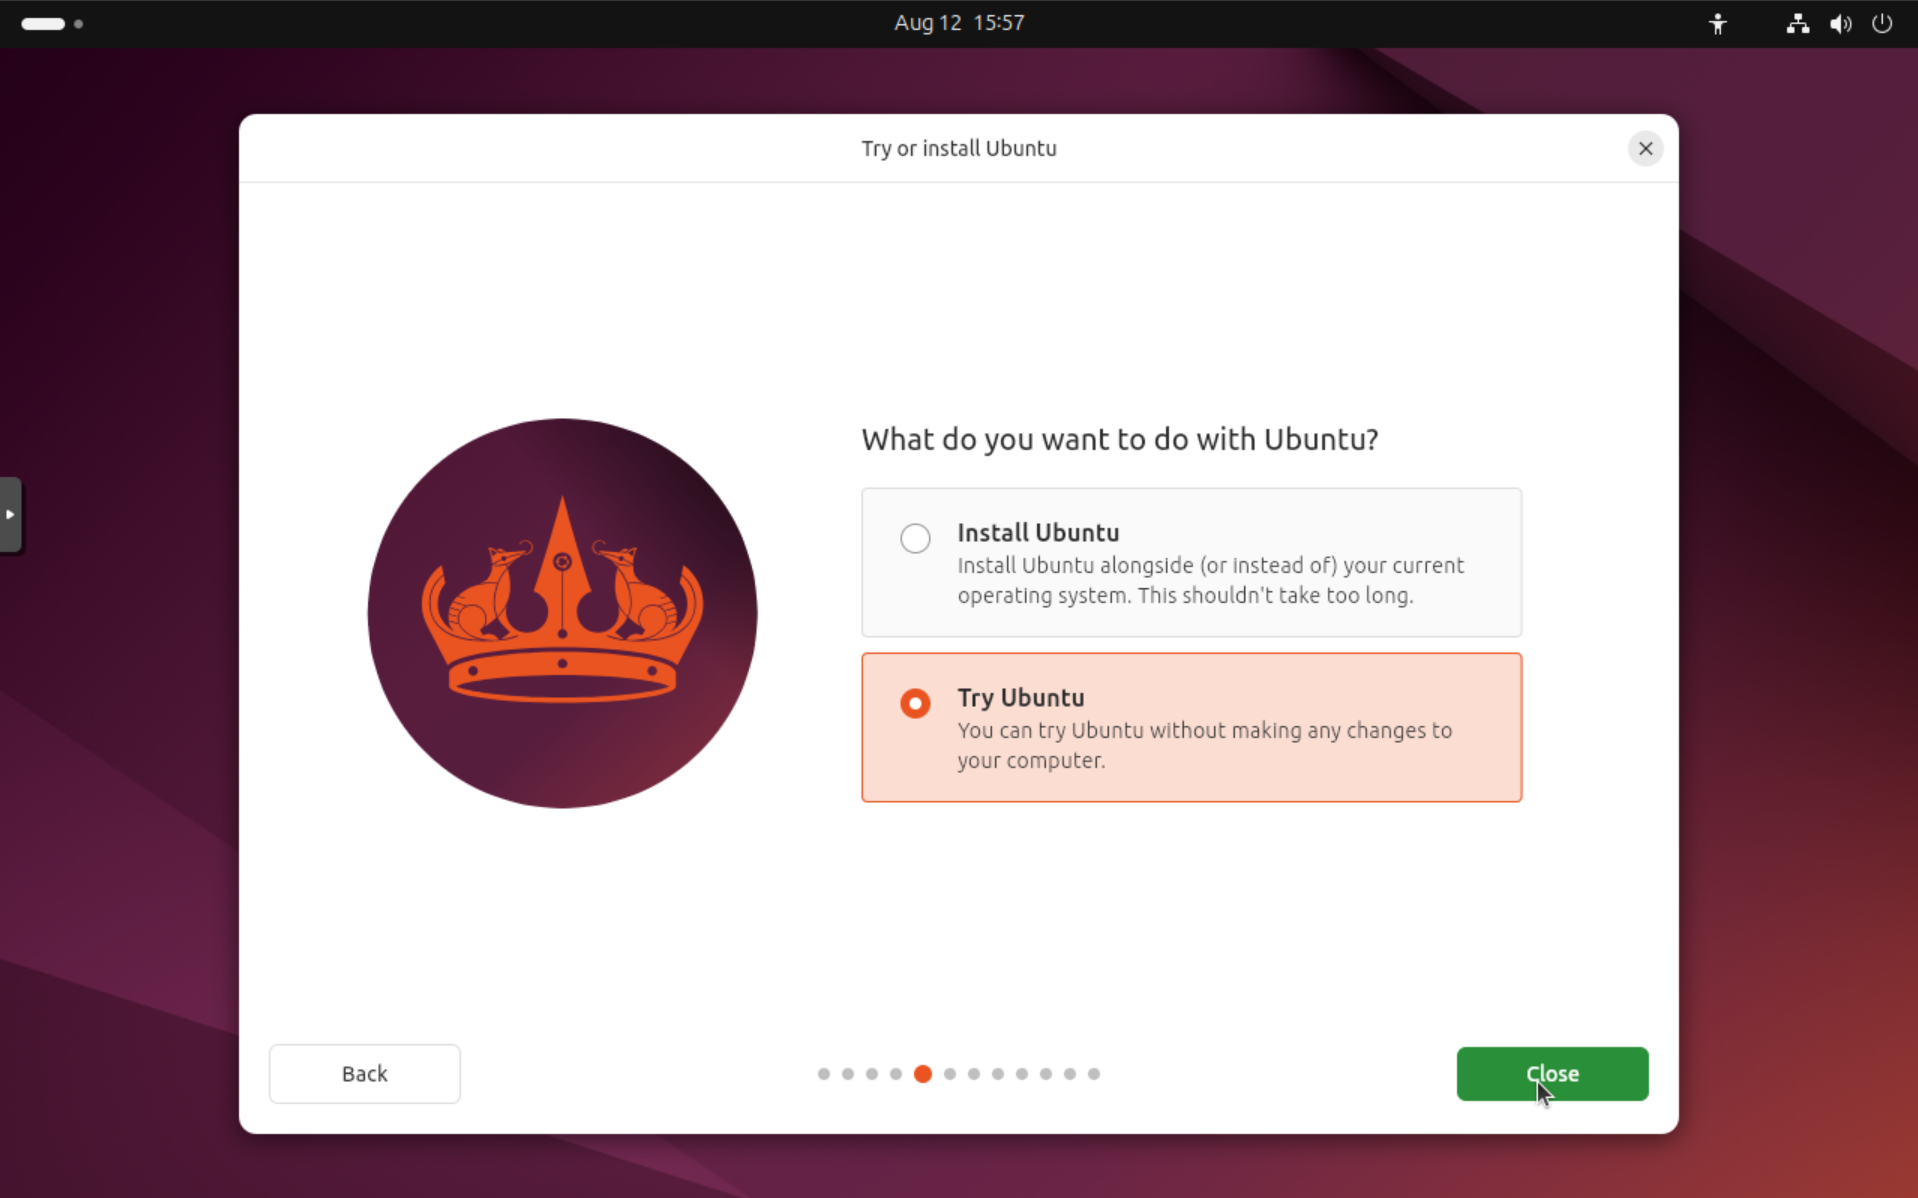
- Choose "Try Ubuntu" or "Try or install Ubuntu" (not "Install Ubuntu")
Step 4: Access Ubuntu Terminal
Once Ubuntu is running:
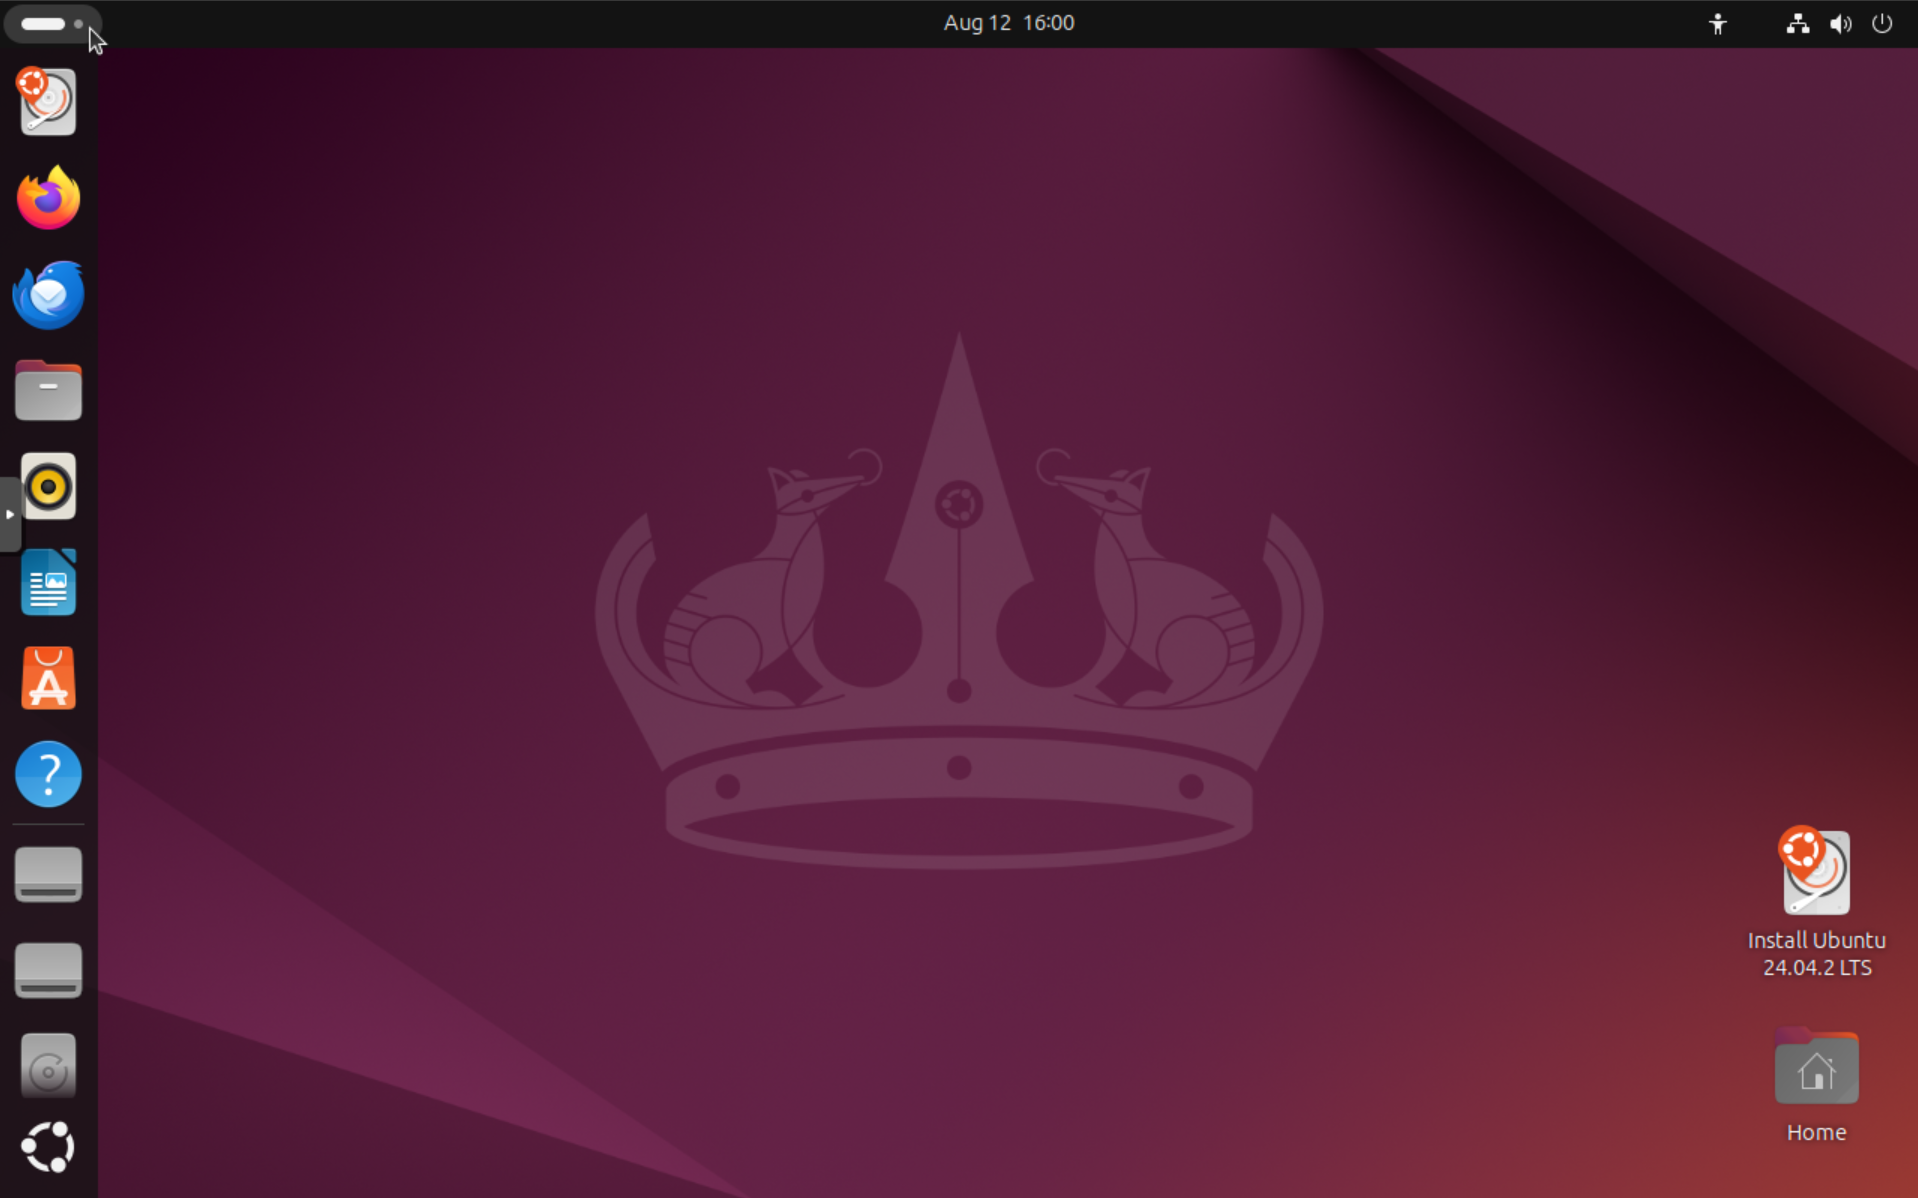
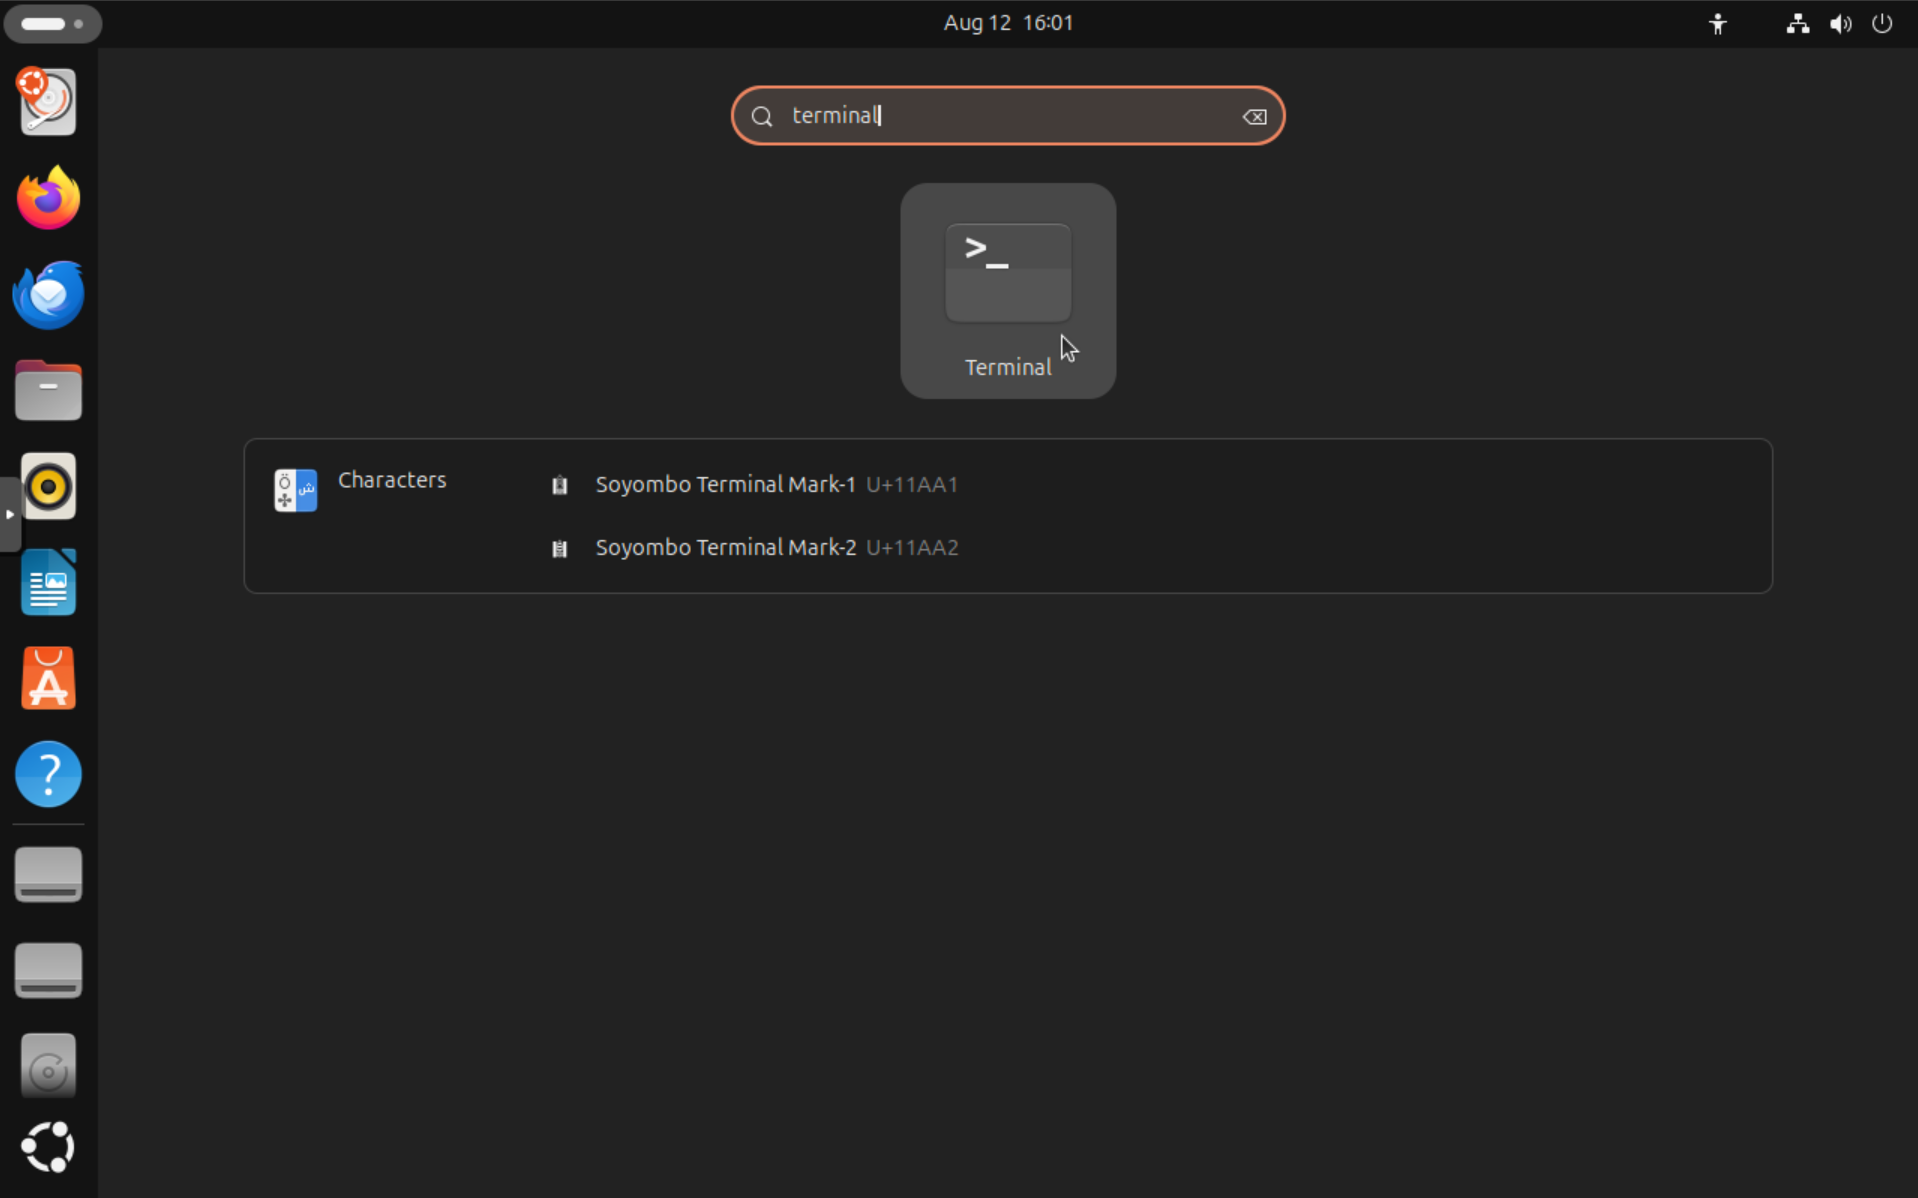
First, click the "Show Applications" button (dots in top-left corner), then, type "terminal" and press Enter:
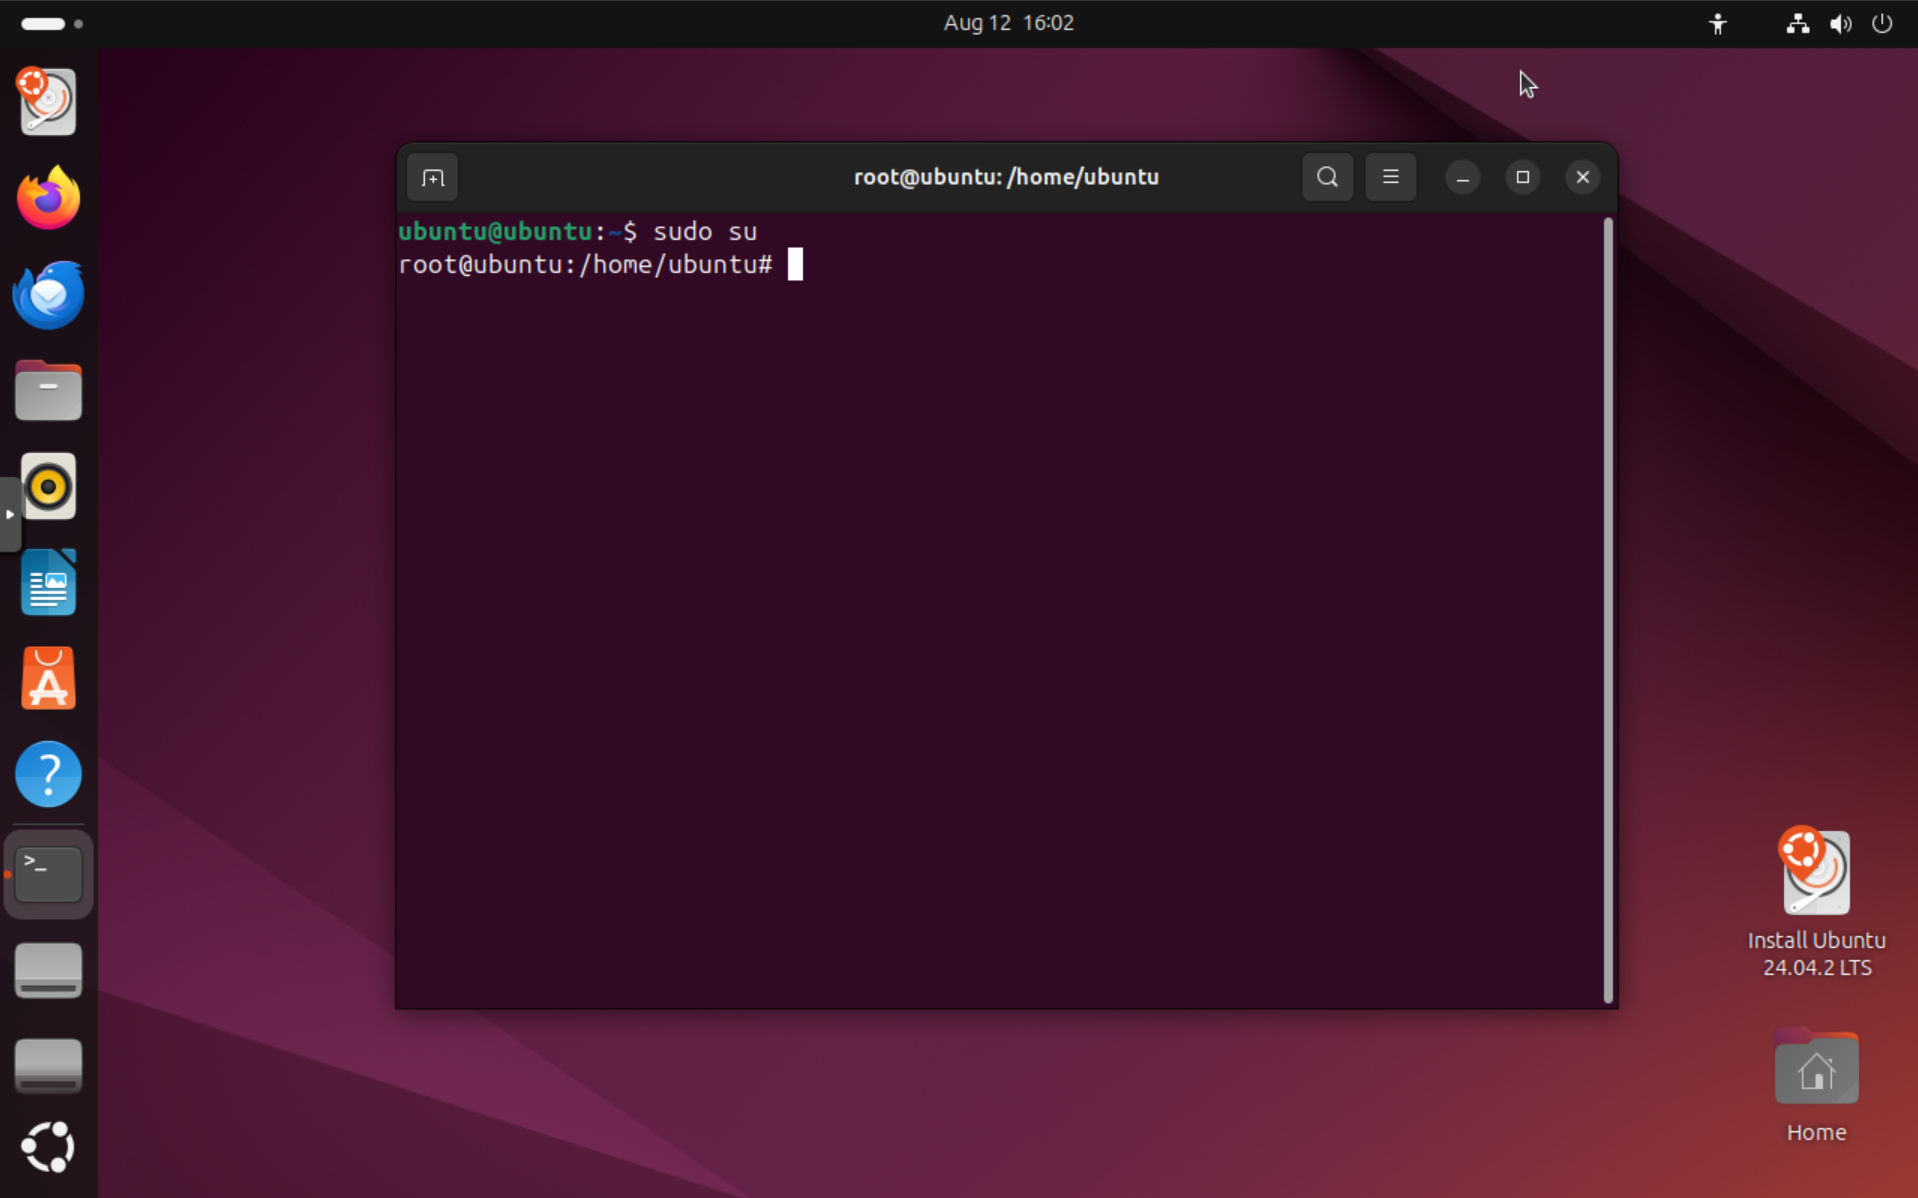
Next, become root user by typing sudo su and pressing Enter. You should now see a prompt like root@ubuntu:/home/ubuntu#:
Step 5: Import the ZFS Pool
First, ensure you have the ZFS utilities installed. On a typical Ubuntu Live environment, it should be installed by default. If not, run:
To import the ZFS pool, run zpool import to scan for available pools, then import the "slide" pool using the zpool import -f slide command:
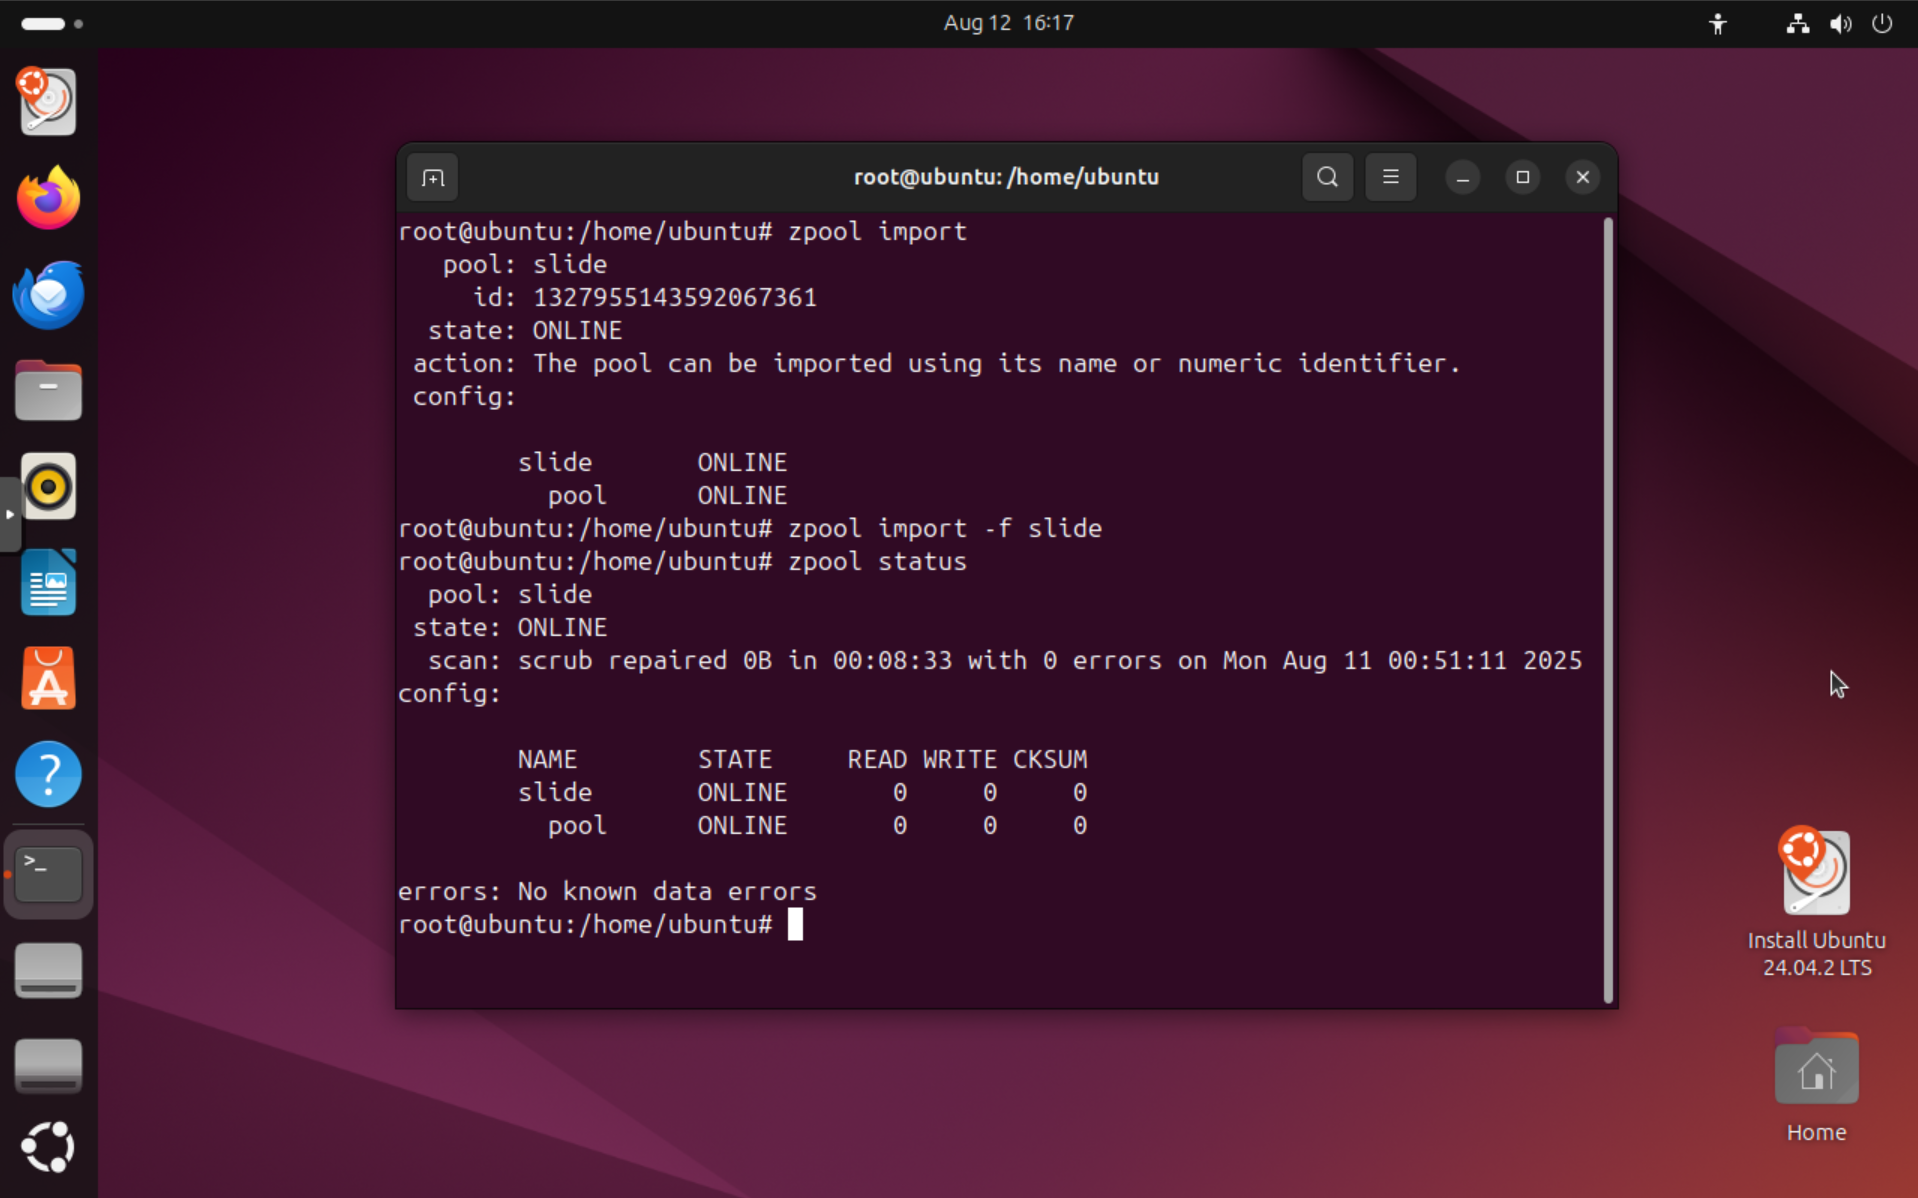
After importing, you can check the pool status and list the datasets. Each agent dataset will show up as its own dataset as slide/agents/a_* when running zfs list.
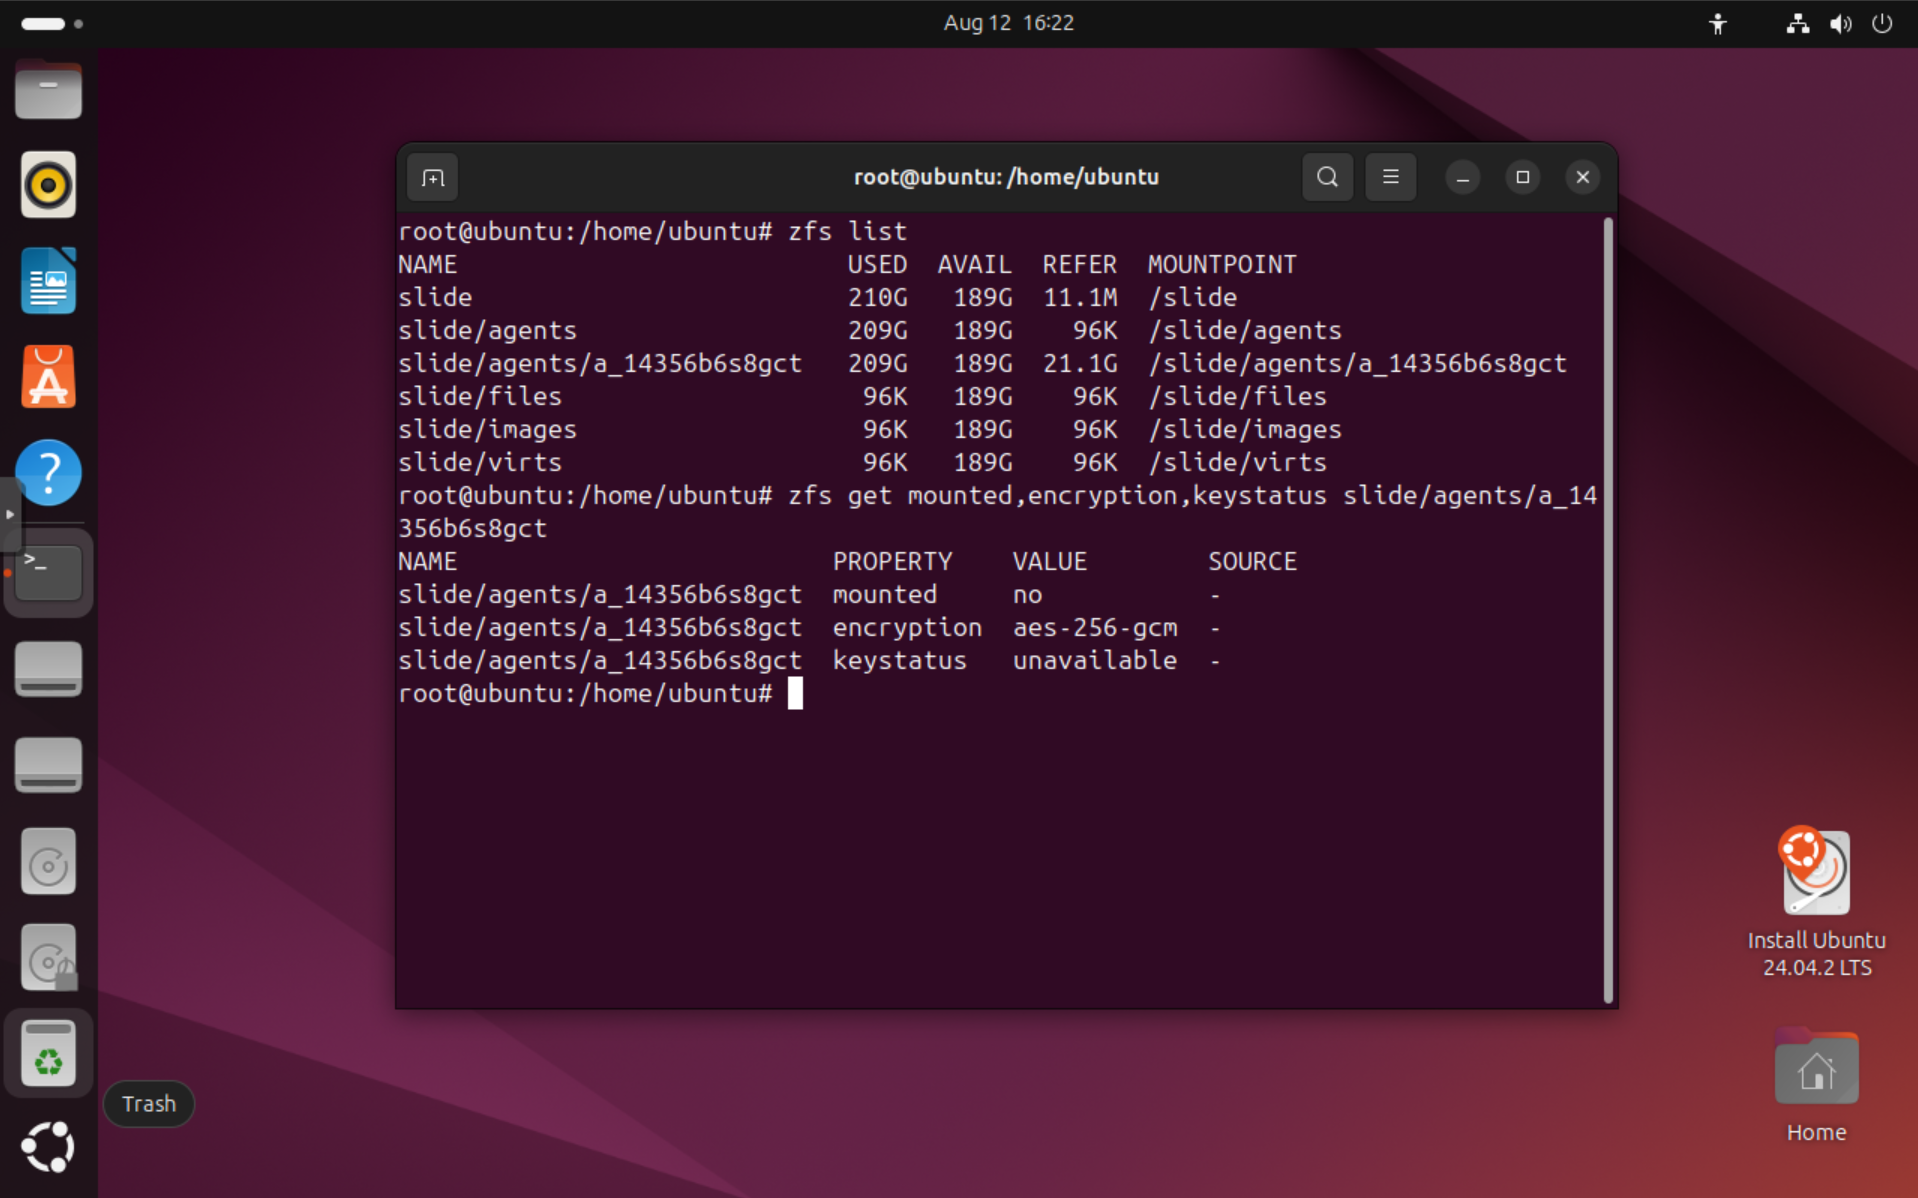
Since the datasets are encrypted, they are not yet mounted and the key is not loaded. You can see that by typing zfs get mounted,encryption,keystatus slide/agents/a_....
Step 6: Mount Agent Datasets
To mount the encrypted agent datasets, you need to load the encryption keys first. To do so, you need to first retrieve the raw ZFS encryption keys, which you can obtain from Slide Support for your specific agents.
Info
Agents with user-managed encryption passphrases are currently not supported by this guide. We are working on making it possible for you to retrieve the raw encryption keys in the future.
Slide Support will provide you with the raw encryption keys for each agent dataset you need to access. You can then load the key into ZFS using zfs load-key and mount the dataset using zfs mount.
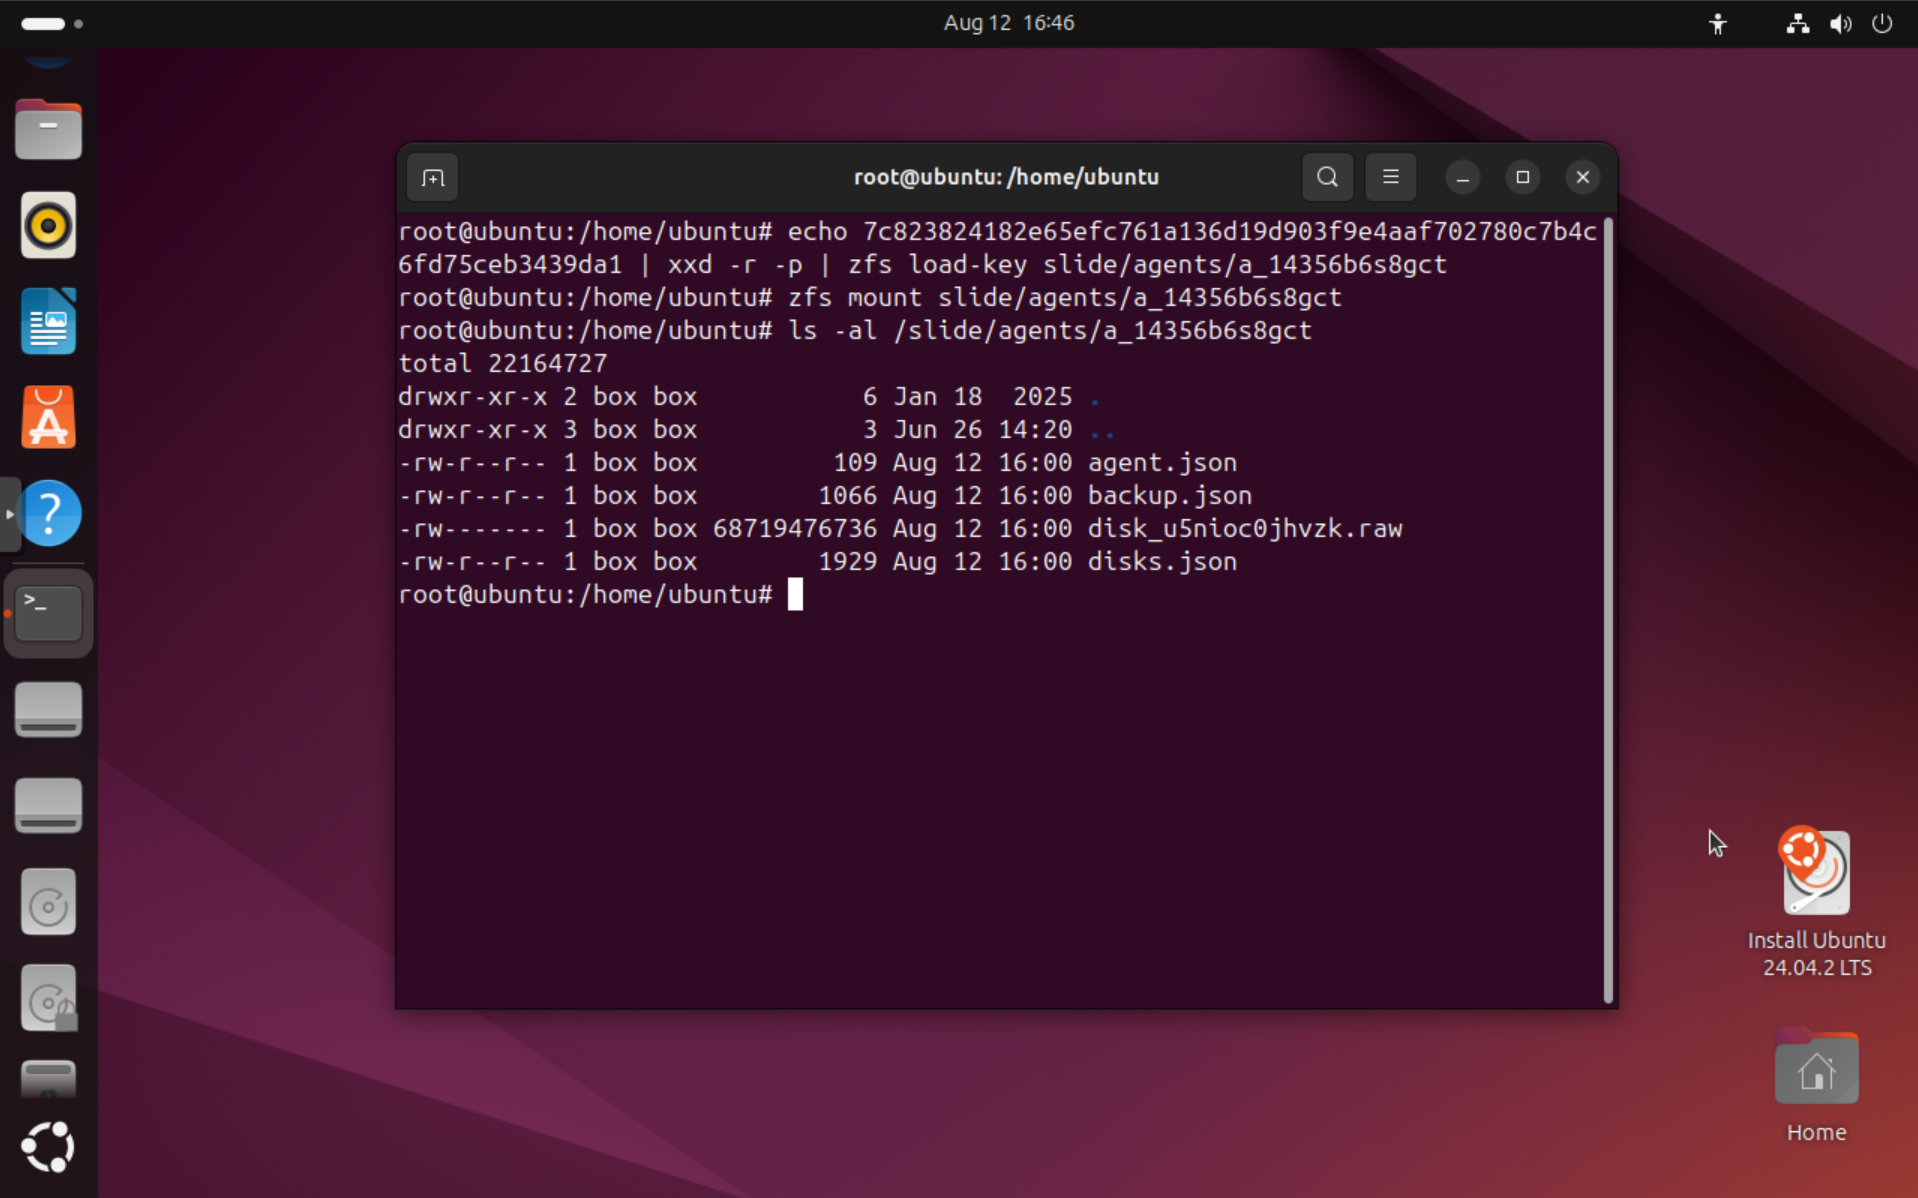
Here are the commands to load the key and mount the dataset (using the example agent a_abc123):
# Option 1 (key in hex format): Use "xxd" to unhex it and pipe it to zfs load-key
echo "7c82382418..." | xxd -r -p | zfs load-key slide/agents/a_abc123

# Option 2 (raw key file, binary): Use cat and pipe it to zfs load-key
cat /path/to/keyfile | zfs load-key slide/agents/a_abc123

# Then mount the dataset and list the raw disk image files
zfs mount slide/agents/a_abc123
ls -al /slide/agents/a_abc123
Repeat this process for each agent dataset you need to access. You can also load all keys if you have them.
Step 7: Access Agent Data
For each agent, you can list the agent's raw disk image files by navigating to the dataset mountpoint (/slide/agents/a_14356b6s8gct for example) and listing the contents using the ls -al command.
You'll see a few *.json files containing metadata about the agent, and most importantly, the disk_*.raw files which are bit-by-bit copies of a disk, including all partitions and volumes.
To access the data on these files, you can create a loop device and then mount the partition(s). Each disk_*.raw contains a partition table and one or more partitions, which you can mount to access the files.
You can follow these steps to access the unencrypted backups:
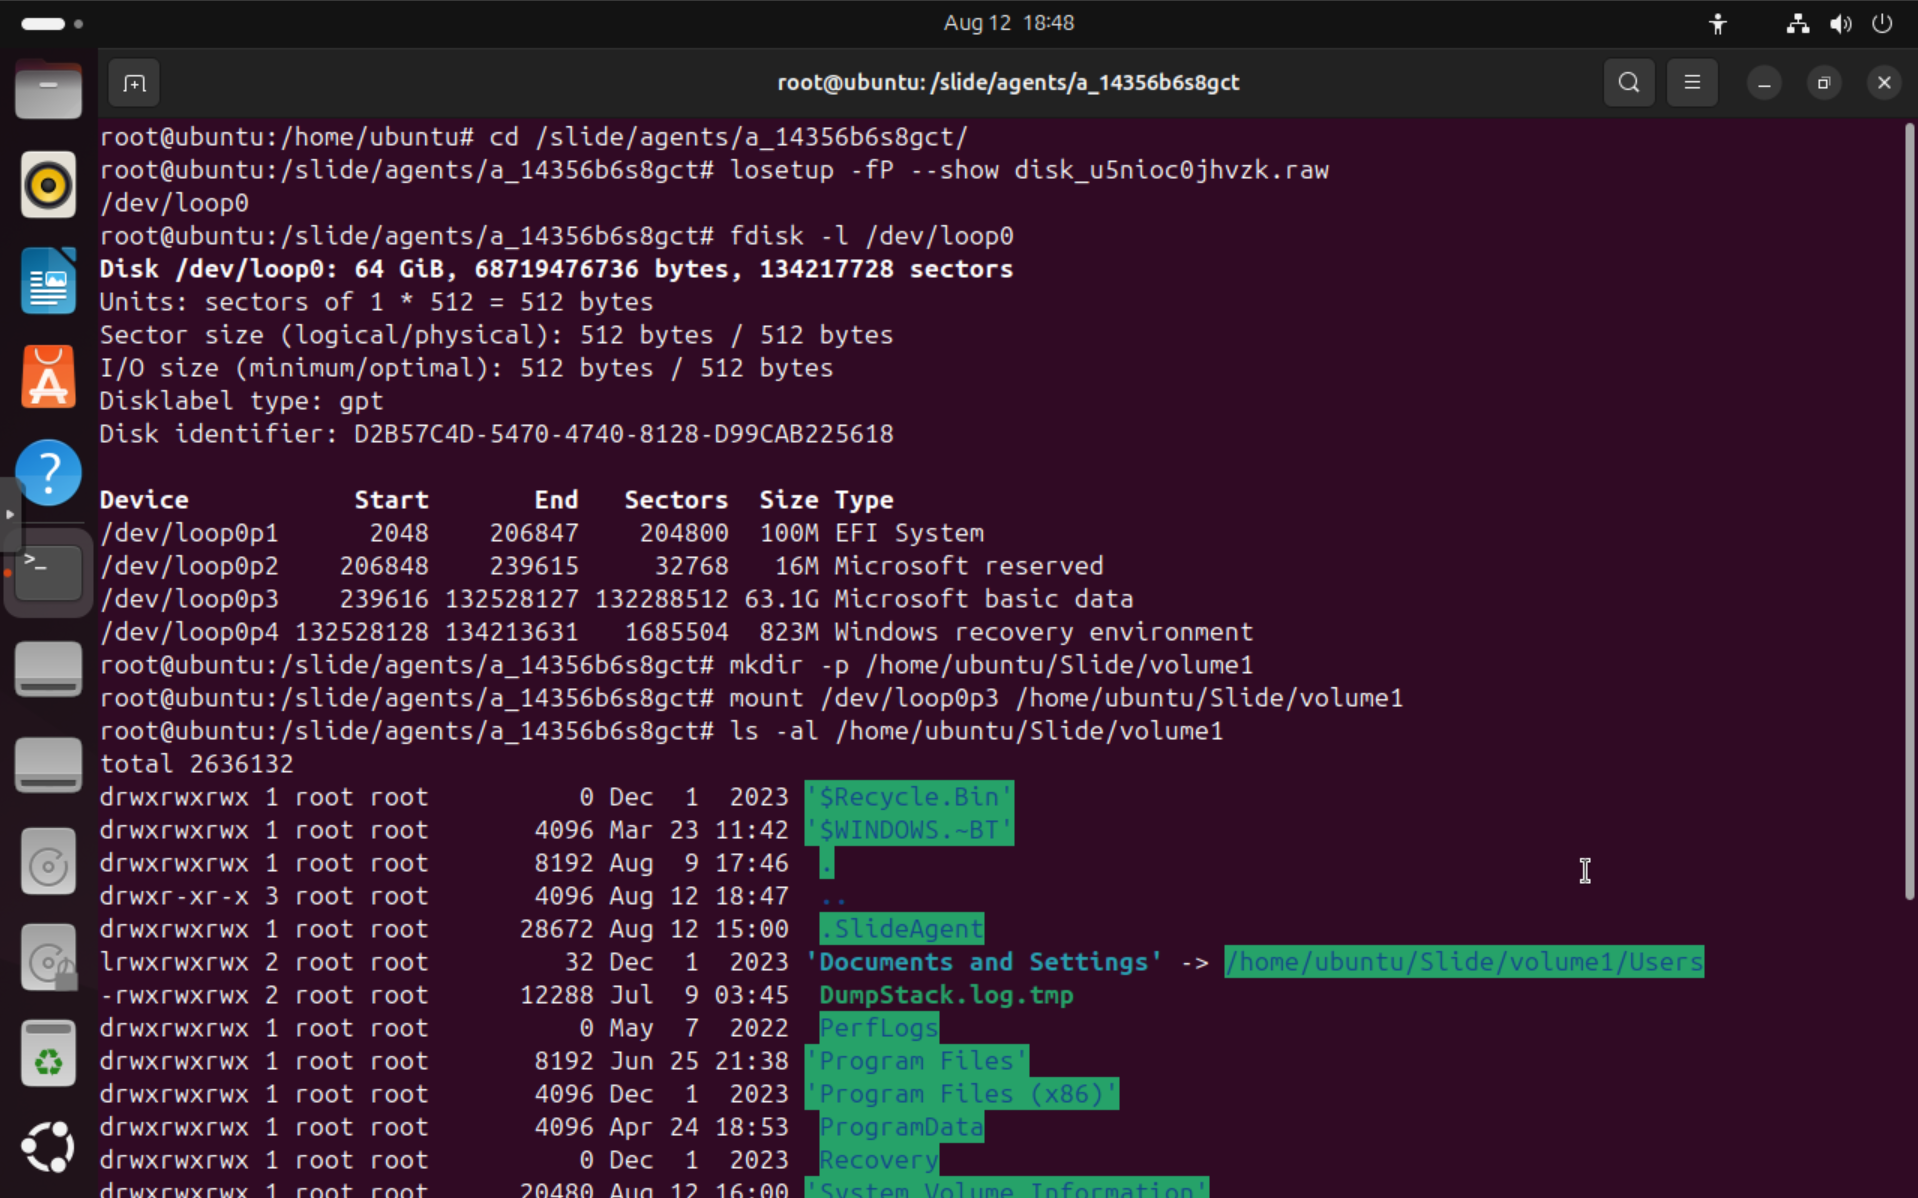
- Navigate to the directory containing the
disk_*.rawfiles, e.g.cd /slide/agents/a_14356b6s8gct. - Create a loop device for each of the
.rawfile, e.g.losetup -fP --show disk_u5nioc0jhvzk.raw. This will automatically assign the next available loop device (e.g./dev/loop0), and scan for partitions. - List all partitions using
lsblkorfdisk -l /dev/loop0. You should see something like/dev/loop0p1for the first partition. Partitions with data are typically listed as "Microsoft basic data". - Now create a mount point and mount the partition:
mkdir -p /home/ubuntu/Slide/volume1andmount /dev/loop0p3 /home/ubuntu/Slide/volume1. - You can now access the files in
/home/ubuntu/Slide/volume1usingls -la /home/ubuntu/Slide/volume1.
Here's what that looks like for our example agent:
You can also access the files using a file manager in Ubuntu. Open the file manager in the dock on the left and click on the hard drive icon in the left menu of the file manager. You can now copy files to your USB drive or another location.
Step 8: Copy Your Data
Once your backup files are mounted, you can copy important data to a USB drive or network location:
# Insert a USB drive and find its device name
lsblk

# Mount the USB drive (replace sdX1 with your USB partition)
mkdir -p /mnt/usb
mount /dev/sdX1 /mnt/usb

# Copy files (example - adjust paths as needed)
cp -r /home/ubuntu/Slide/volume1/Users/YourUser/Documents/* /mnt/usb/
Step 9: Cleanup When Done
Before shutting down, properly unmount and clean up: