Getting Started
This guide will walk you through the process of installing and setting up Slide Backup, including a Slide Box and a Slide Agent.
Before you begin
Have the following items ready:
- Your Slide account credentials (Don't have an account? Get in touch!)
- Your Slide backup appliance aka the Slide Box
- Access to the Windows computers you wish to back up (Windows 10 and later)
- Ensure the system you want to protect is ready to take a backup:
- Ensure disk and OS health with the following commands:
- All drives free of bad blocks, for each drive (replace C: with your actual drive letter) chkdsk C: /F /R
- Check Windows VSS writers for errors; vssadmin list writers
- Scan system files for errors; sfc /scannow
- Repair Windows Image; DISM.exe /Online /Cleanup-image /Restorehealth
- Agent and device reside on the same private network, Slide does not backup over the internet. Local network speed should be 1GB (1000BASE-T) minimum link.
- Ensure disk and OS health with the following commands:
Step 1: Log in to Slide Console
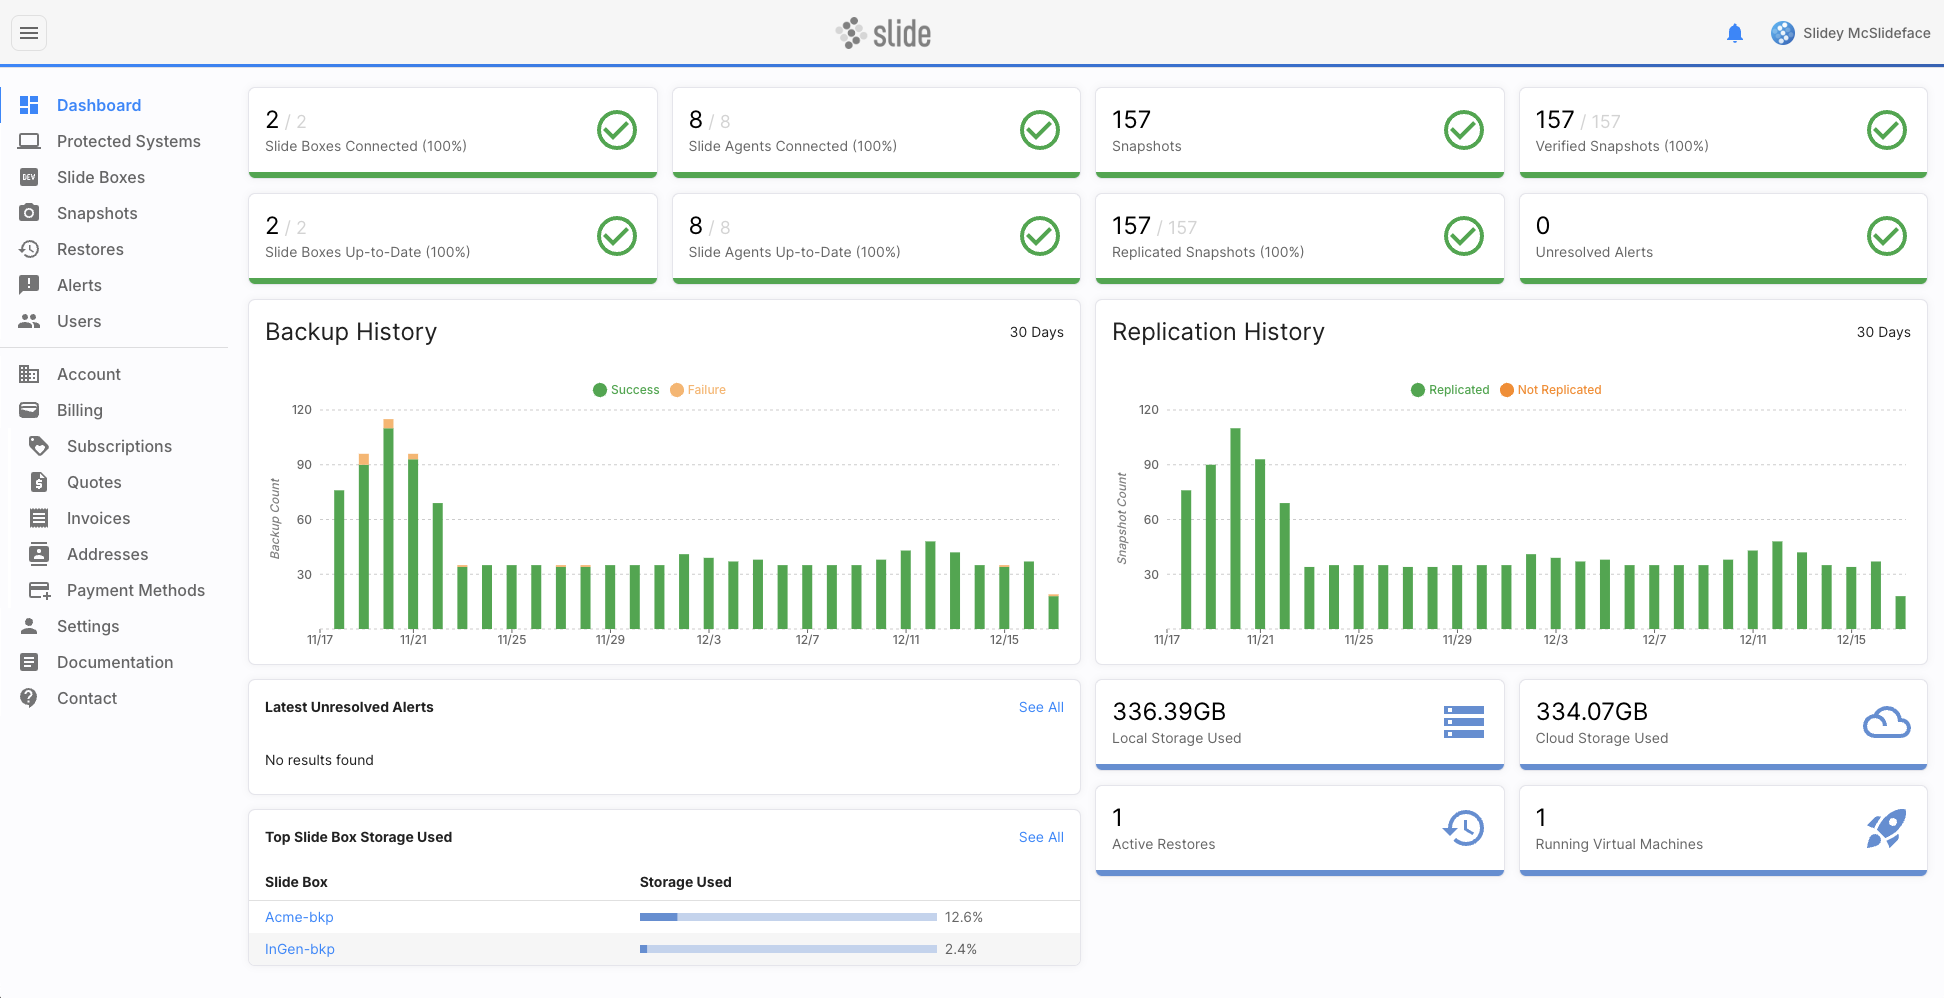
The Slide Console is your one-stop shop for monitoring and managing all things Slide. You can use the Slide Console to manage your protected systems, Slide Boxes, backup schedules, alerts, and restores.
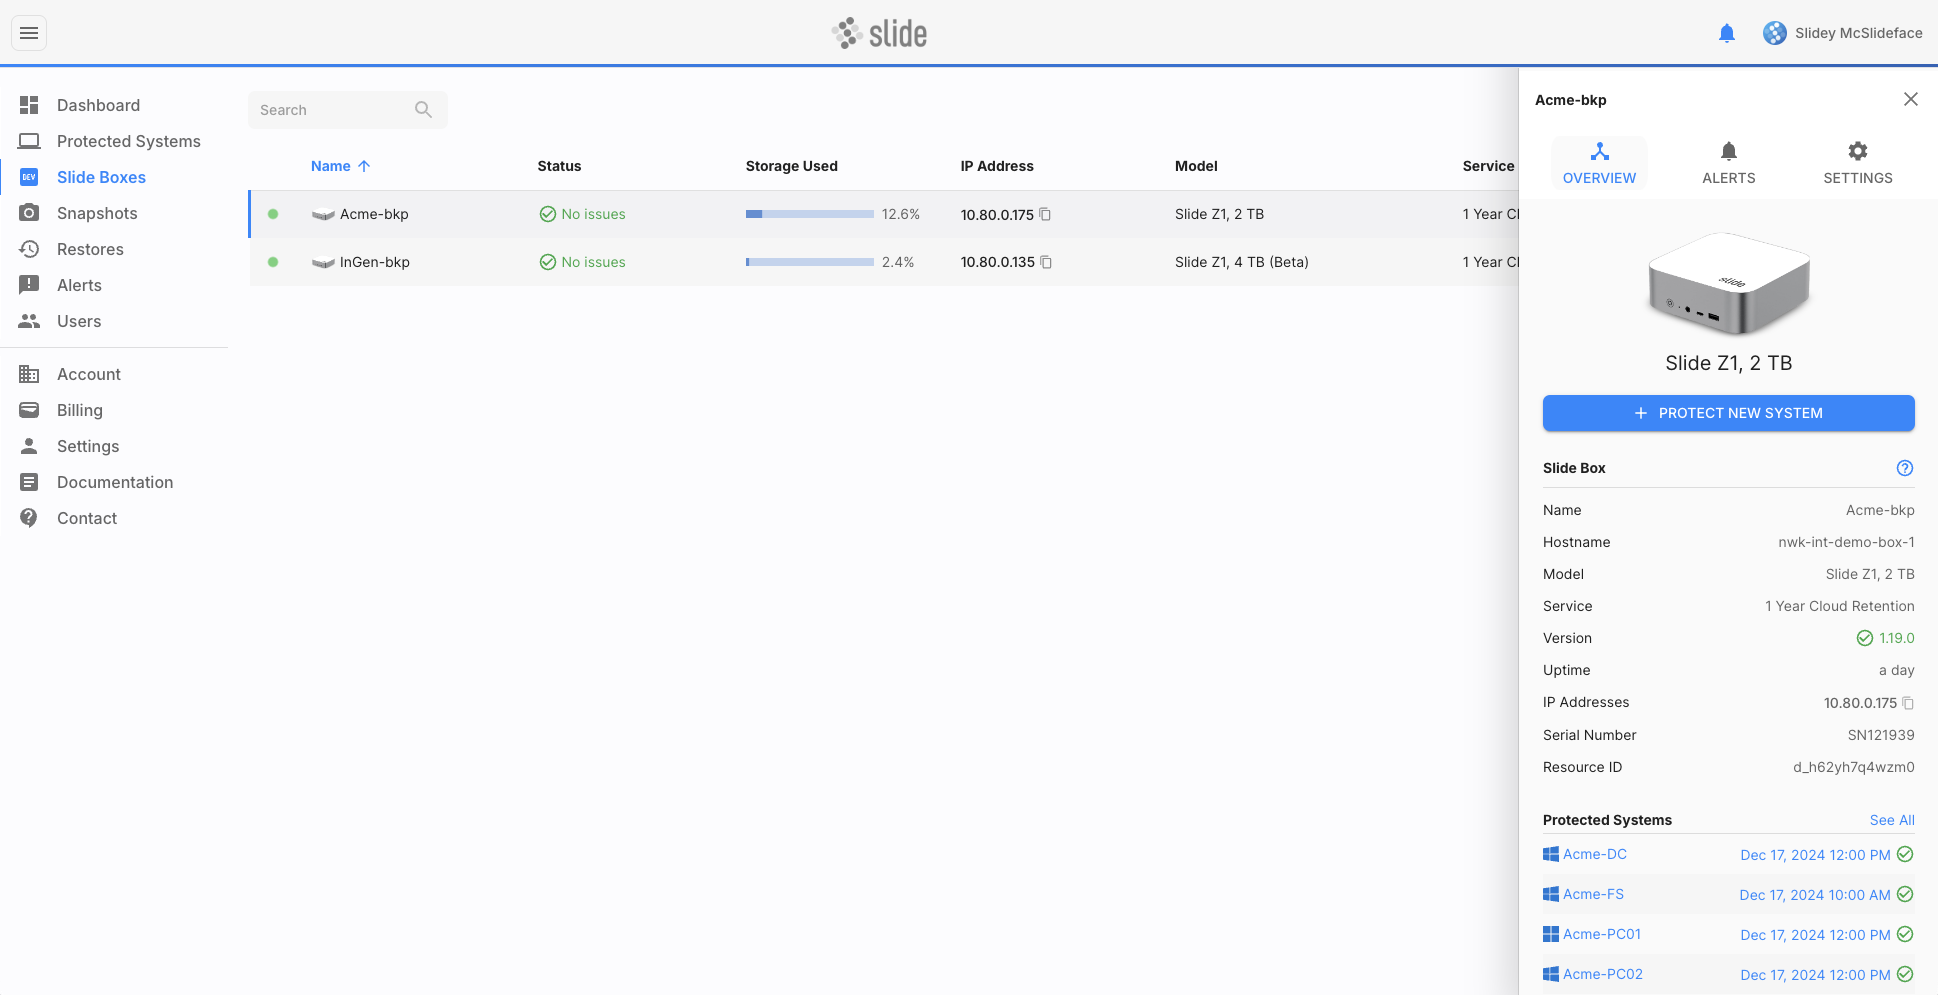
Once logged in, it'll look something like this -- though until you've set up your Slide Box and Slide Agent, you won't see much data here yet:
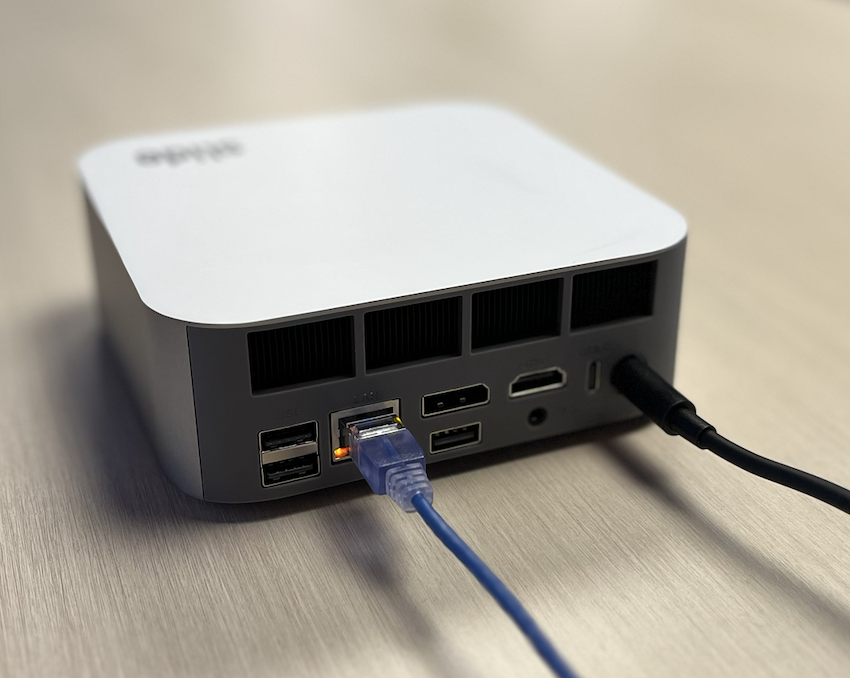
Step 2: Connect your Slide Box to the Internet
You should have received your Slide Box in the mail. Unbox it and connect it to your (or your client's) network using an ethernet cable, and power on the device. The Slide Box must be connected to the Internet to communicate with the Slide Cloud and to manage it via the Slide Console. Please refer to the network requirements for more information.

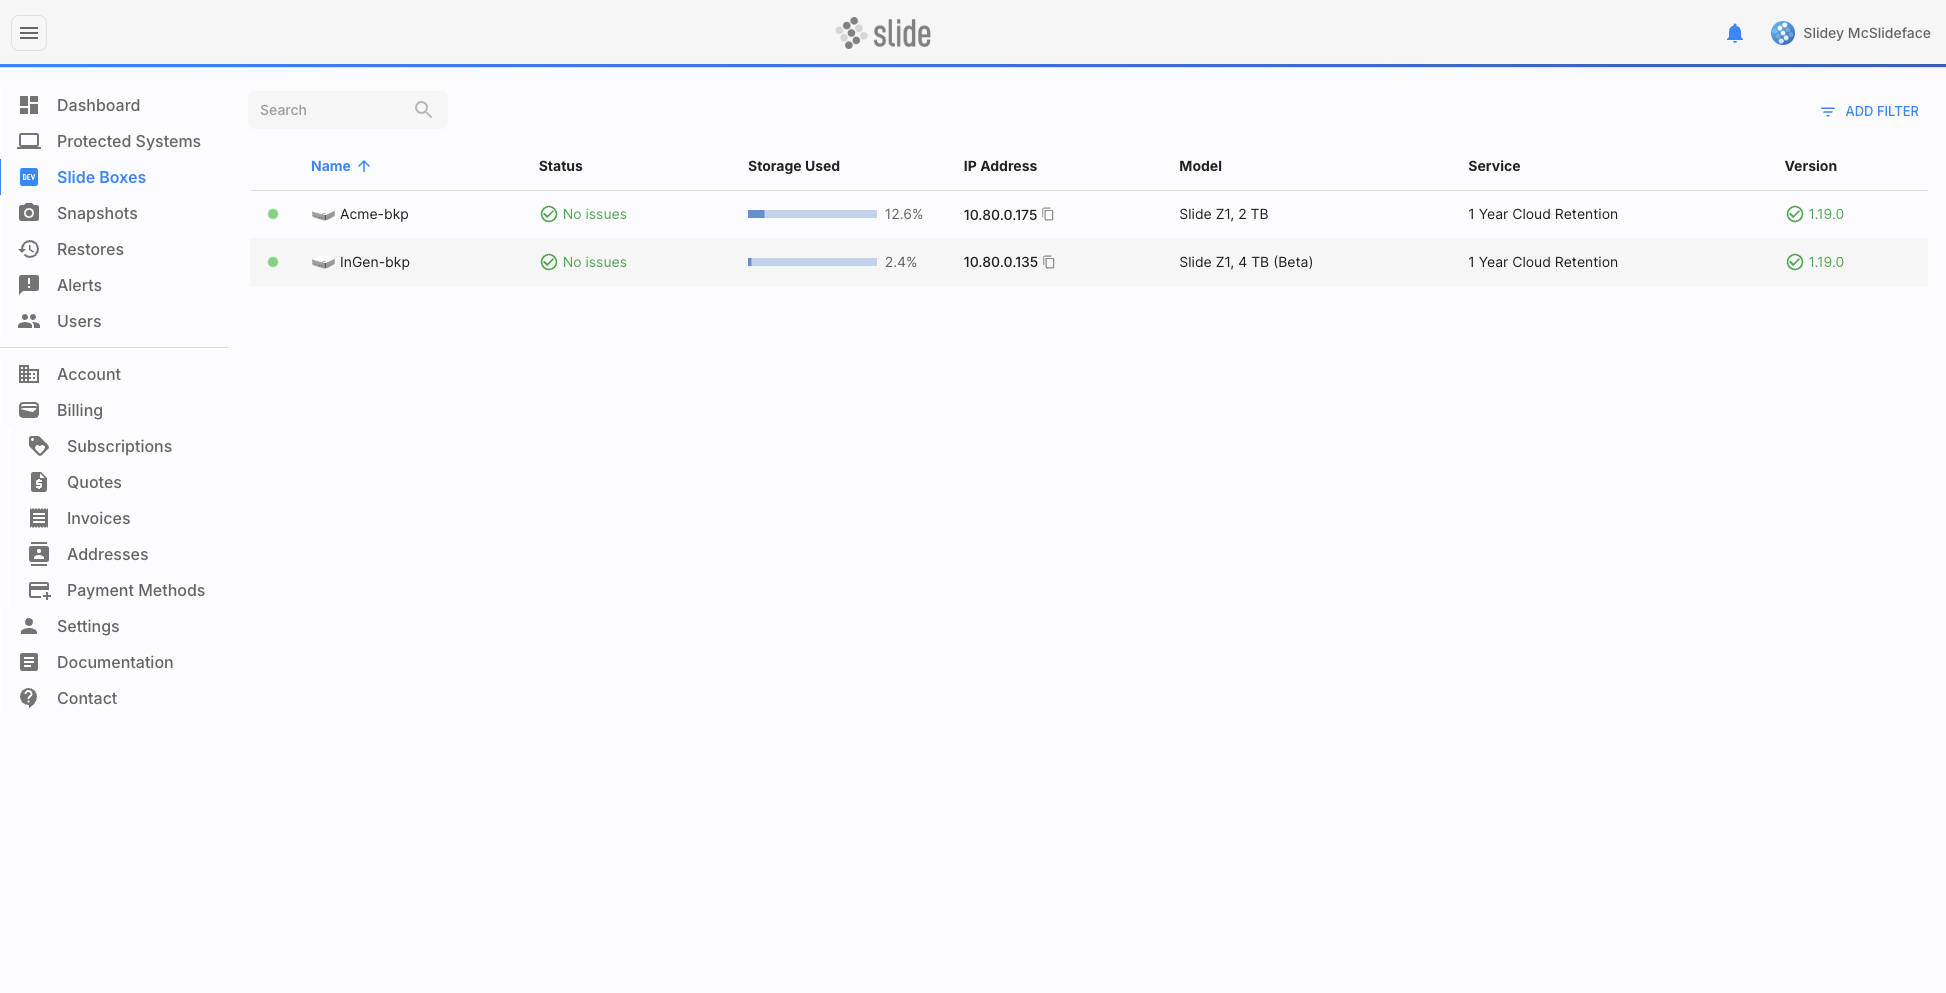
Once you have connected your Slide Box to the Internet, you'll be able to see the online indicator turn green (), meaning that your Slide Box is connected to the Slide Cloud. If you see an orange or red indicator, please refer to the network requirements for more information.
If you choose to connect a monitor to your Slide Box via HDMI, you should see a status screen showing device information. It should look similar to this:
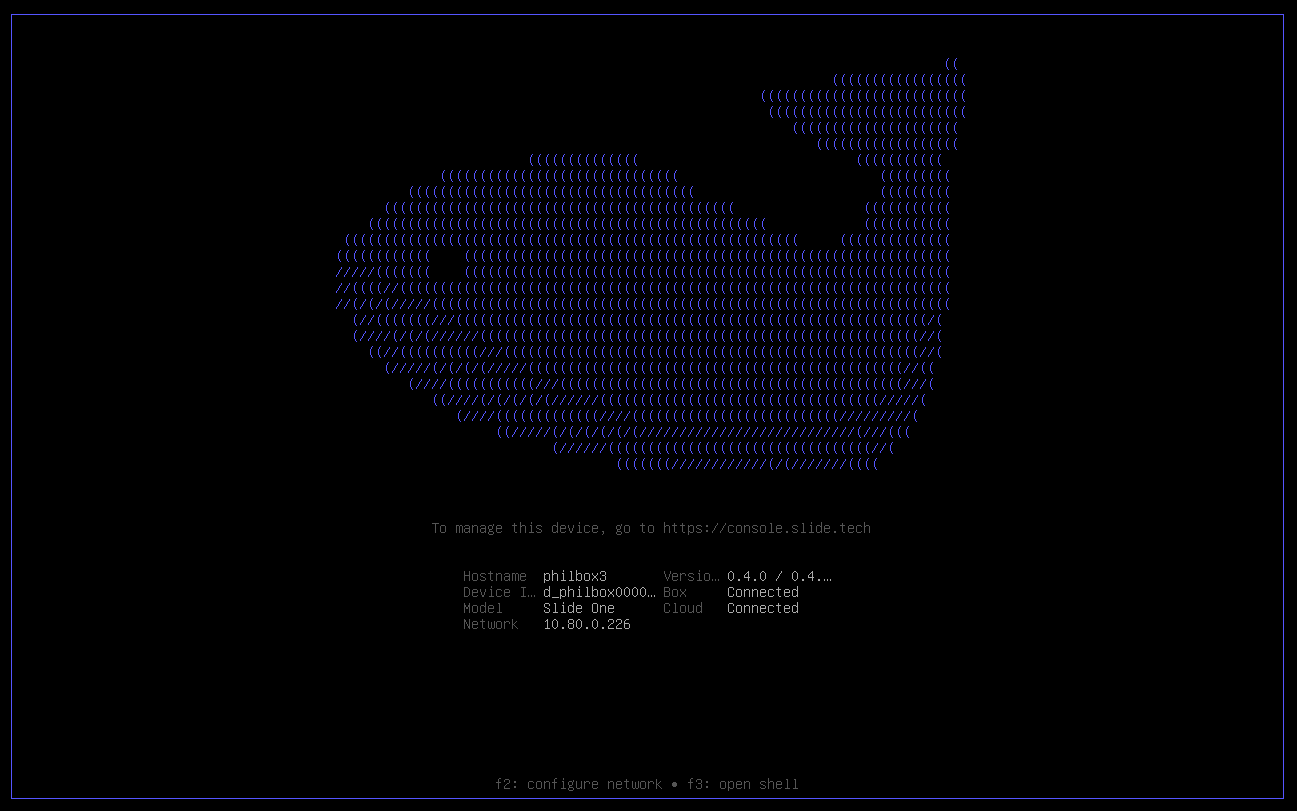
Please note that it is not required to keep a monitor connected to your Slide Box at all times. The status screen is used, mostly, for troubleshooting purposes.
Step 3: Install Slide Agent
To protect a system, you need to install the Slide Agent on the system you wish to back up. The Slide Agent is a lightweight application that runs in the background and communicates with the Slide Box to back up your data.
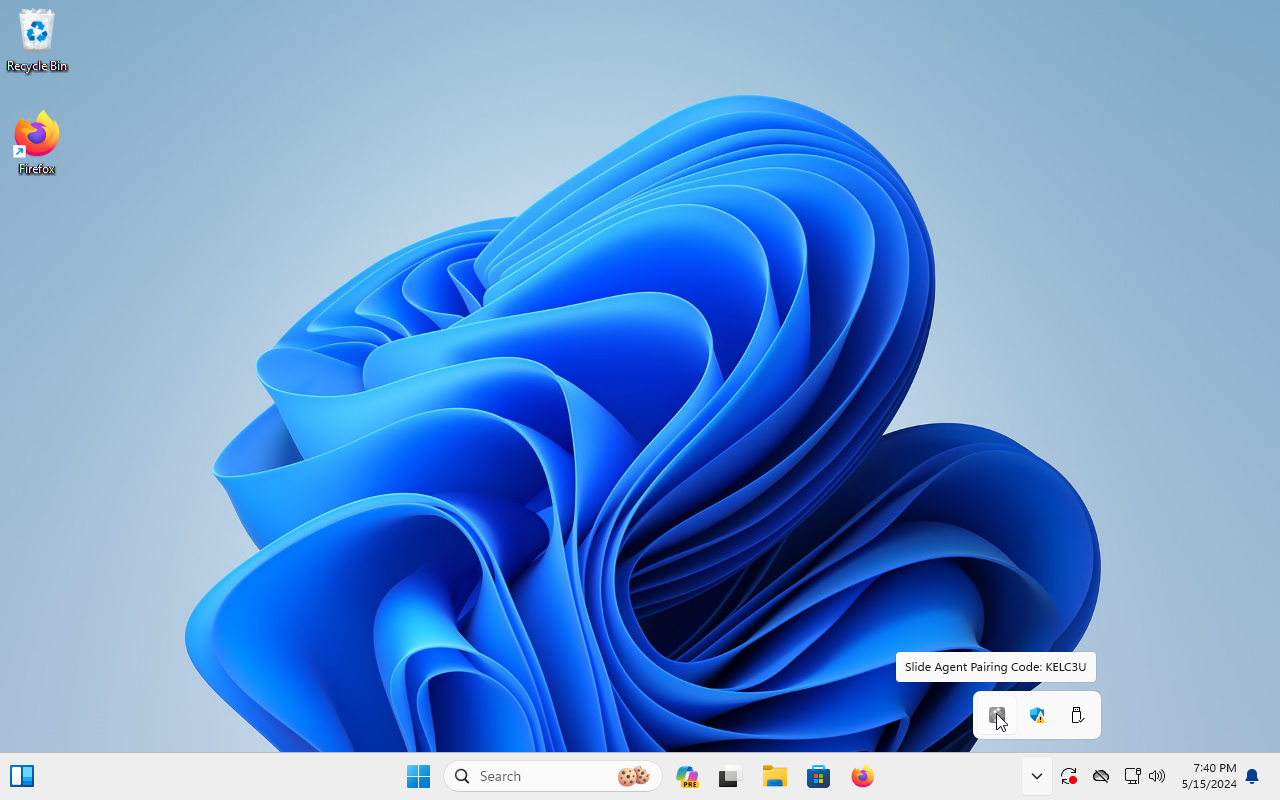
First, download the latest Slide Agent, and run the installer on the Windows computer you'd like to protect. The installer will guide you through the installation process and then show you a pairing code in the tray icon. If you do not see a pairing code in the tray icon, please make sure your agent can communicate with the Slide Cloud (see network requirements).
Installing the Slide Agent with winget
To install the Slide Agent with winget, use the following command:

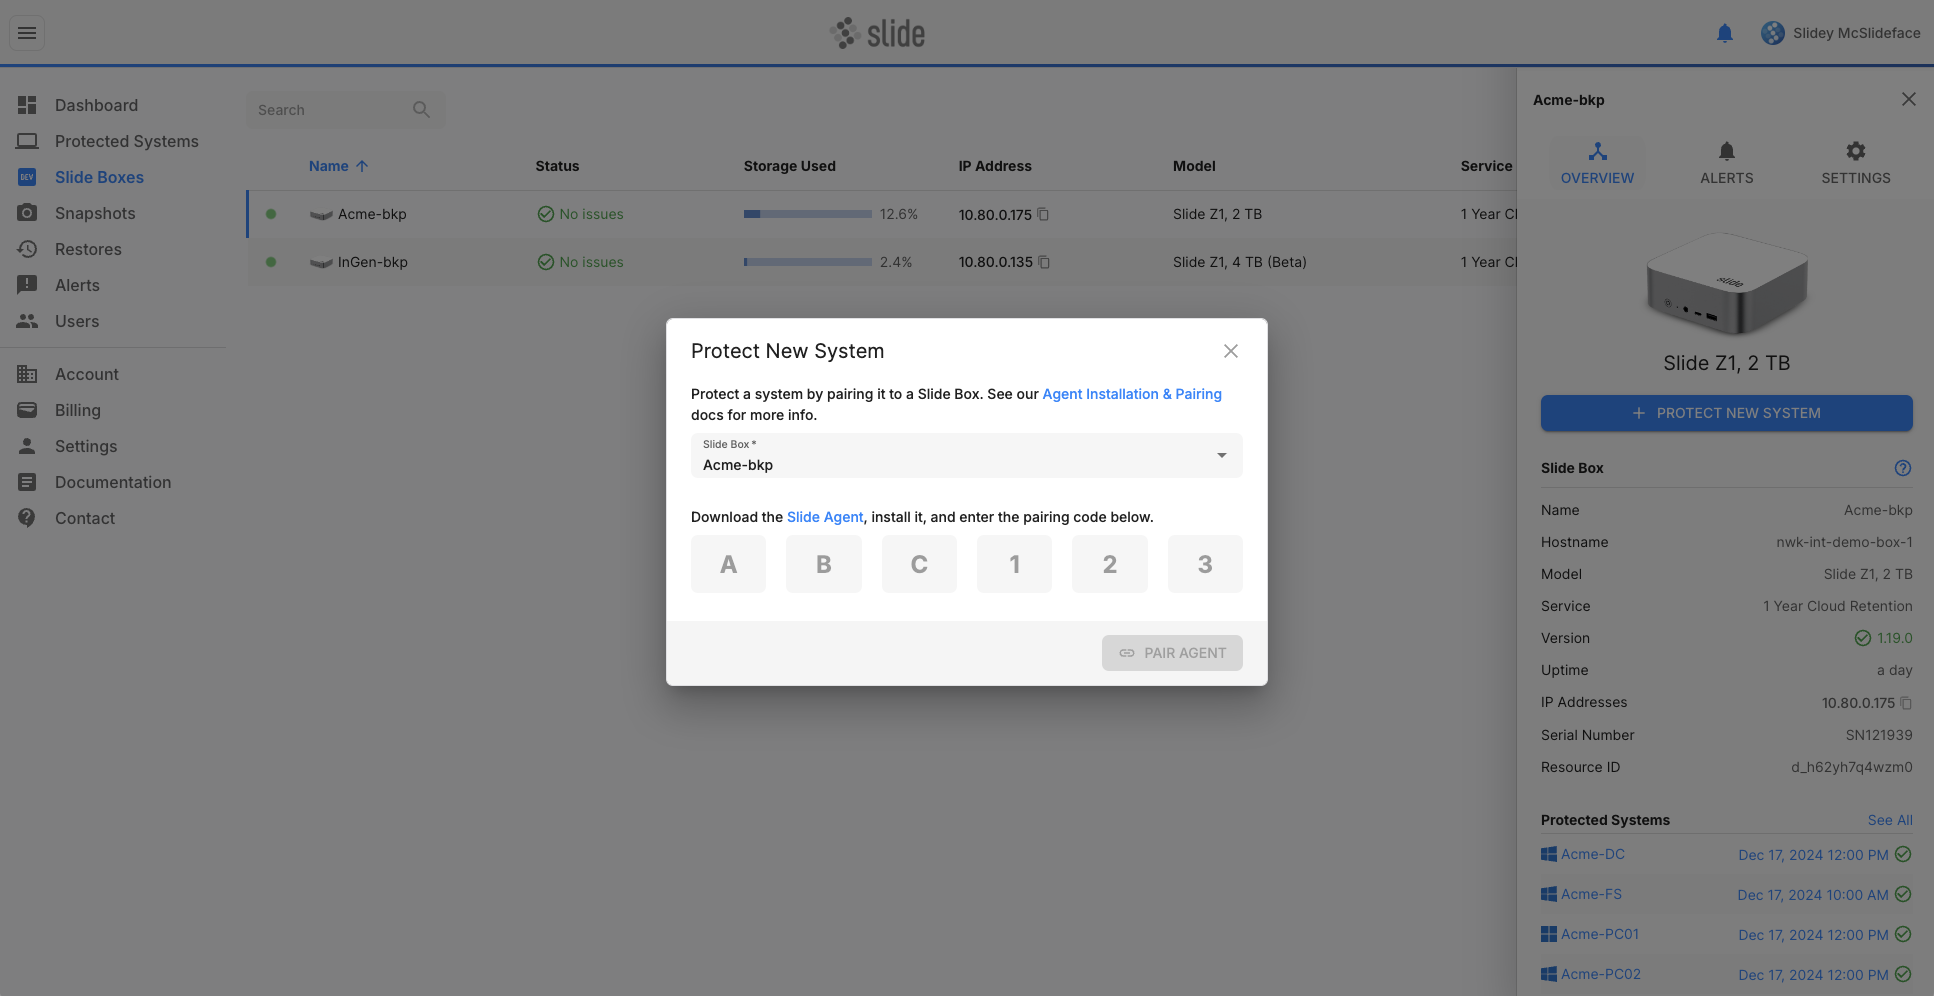
After that, you can pair the agent with your Slide Box by entering the pairing code in the Slide Console. To do this, select the box on the Slide Boxes page and click the Protect New System button. Enter the pairing code you see in the tray menu, and click Pair Agent.
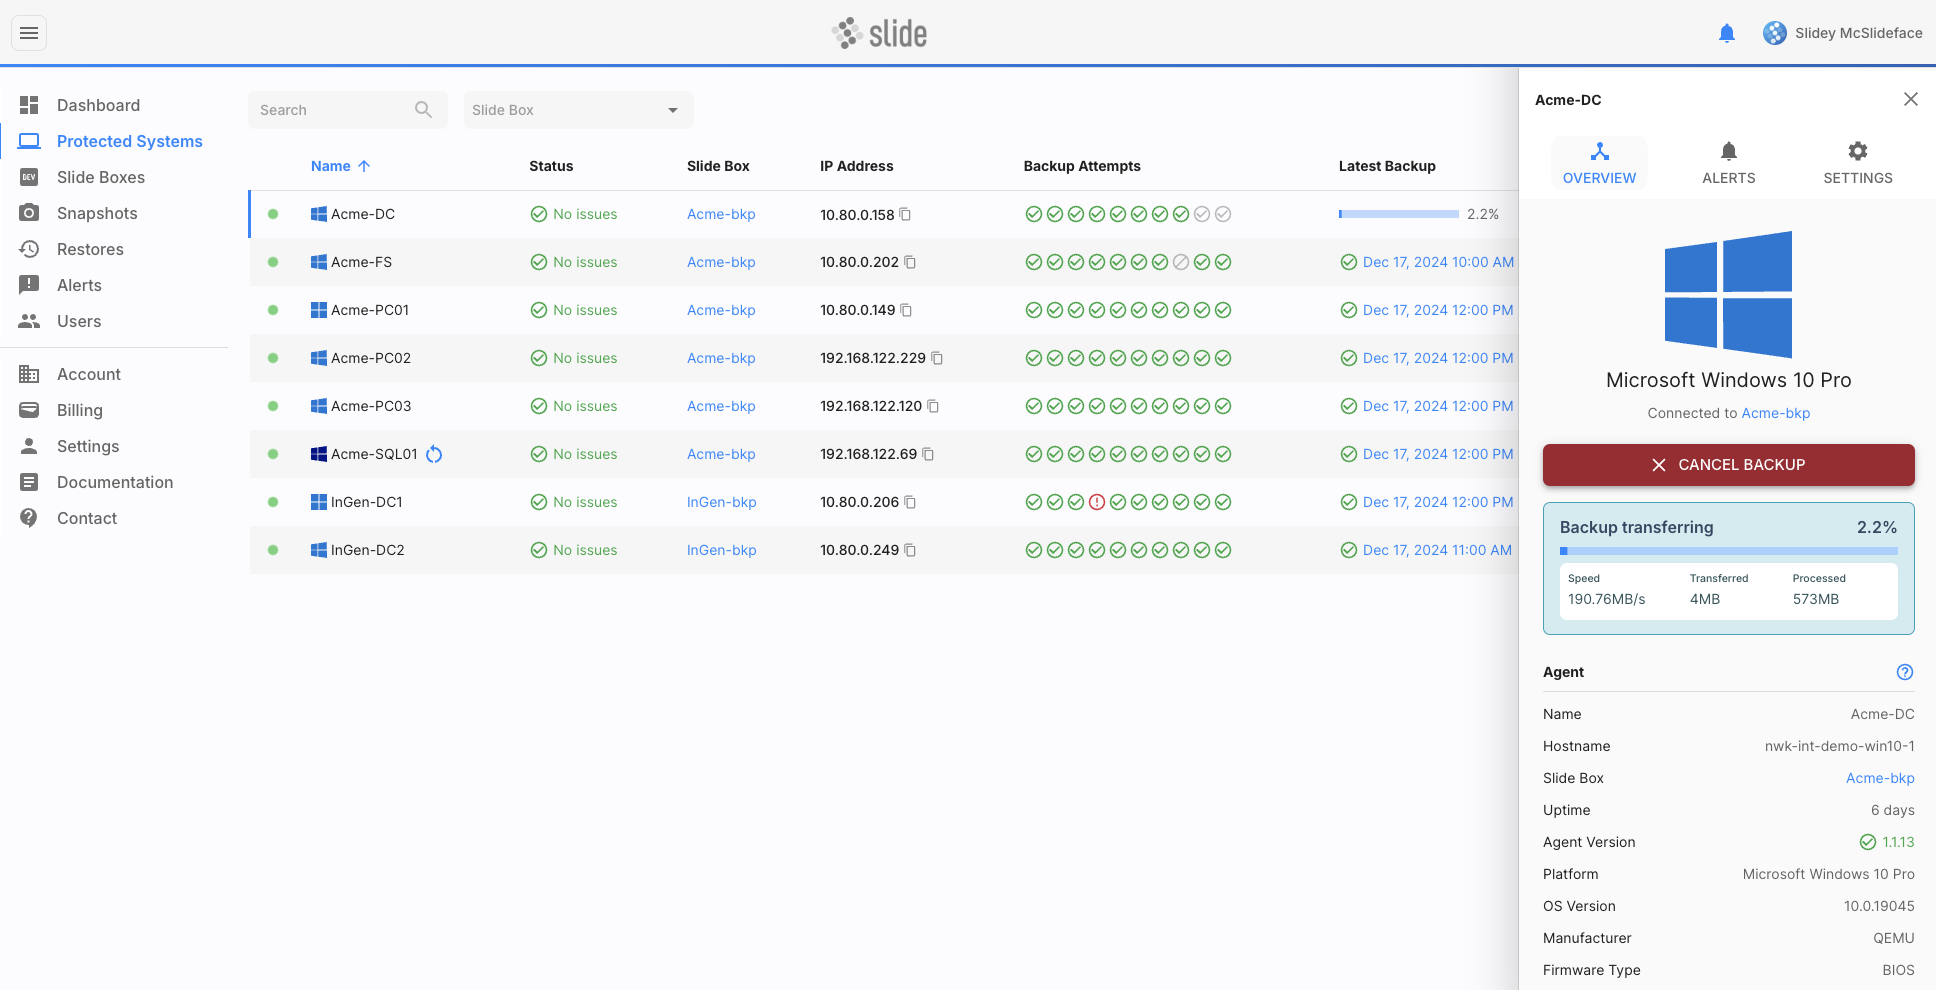
That's it. Now that the agent is paired, it will show up in the Protected Systems list in the Slide Console. You can now configure backup schedules, retention policies, and more. And you can trigger your first backup!
To learn more about how you can configure and manage your Slide Box and Slide Agent backups, please refer to Slide Boxes and Protected Systems.